Sign up to our mailing list for the best stories delivered to your inbox.
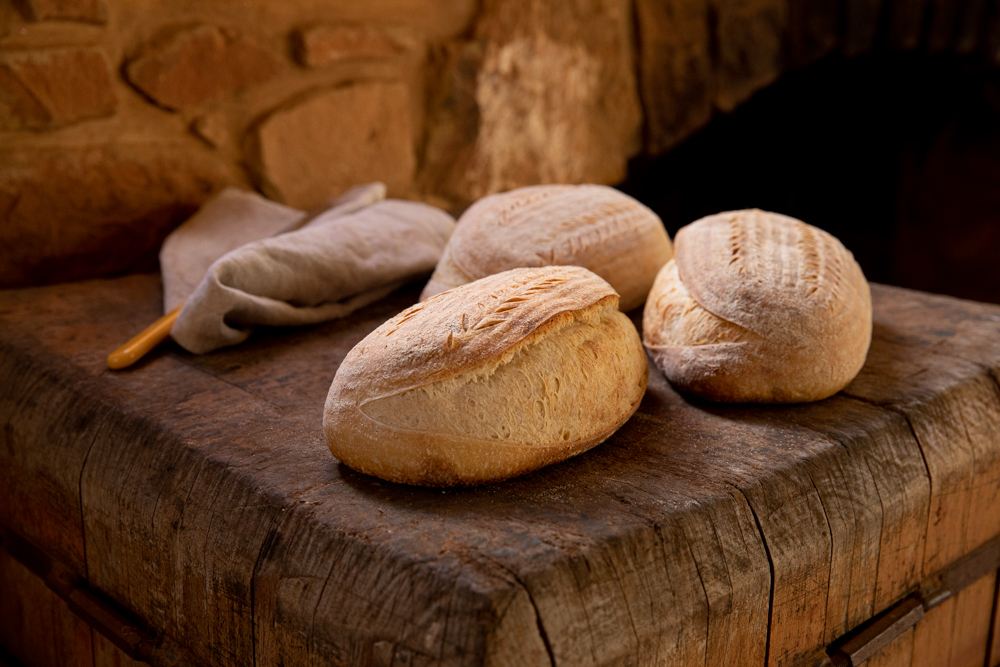
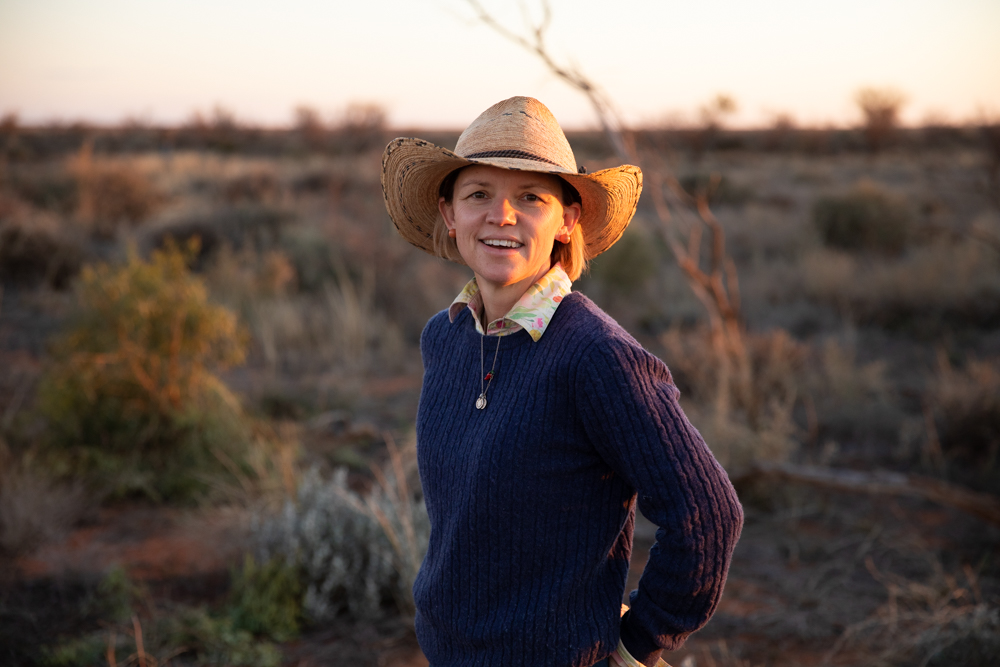
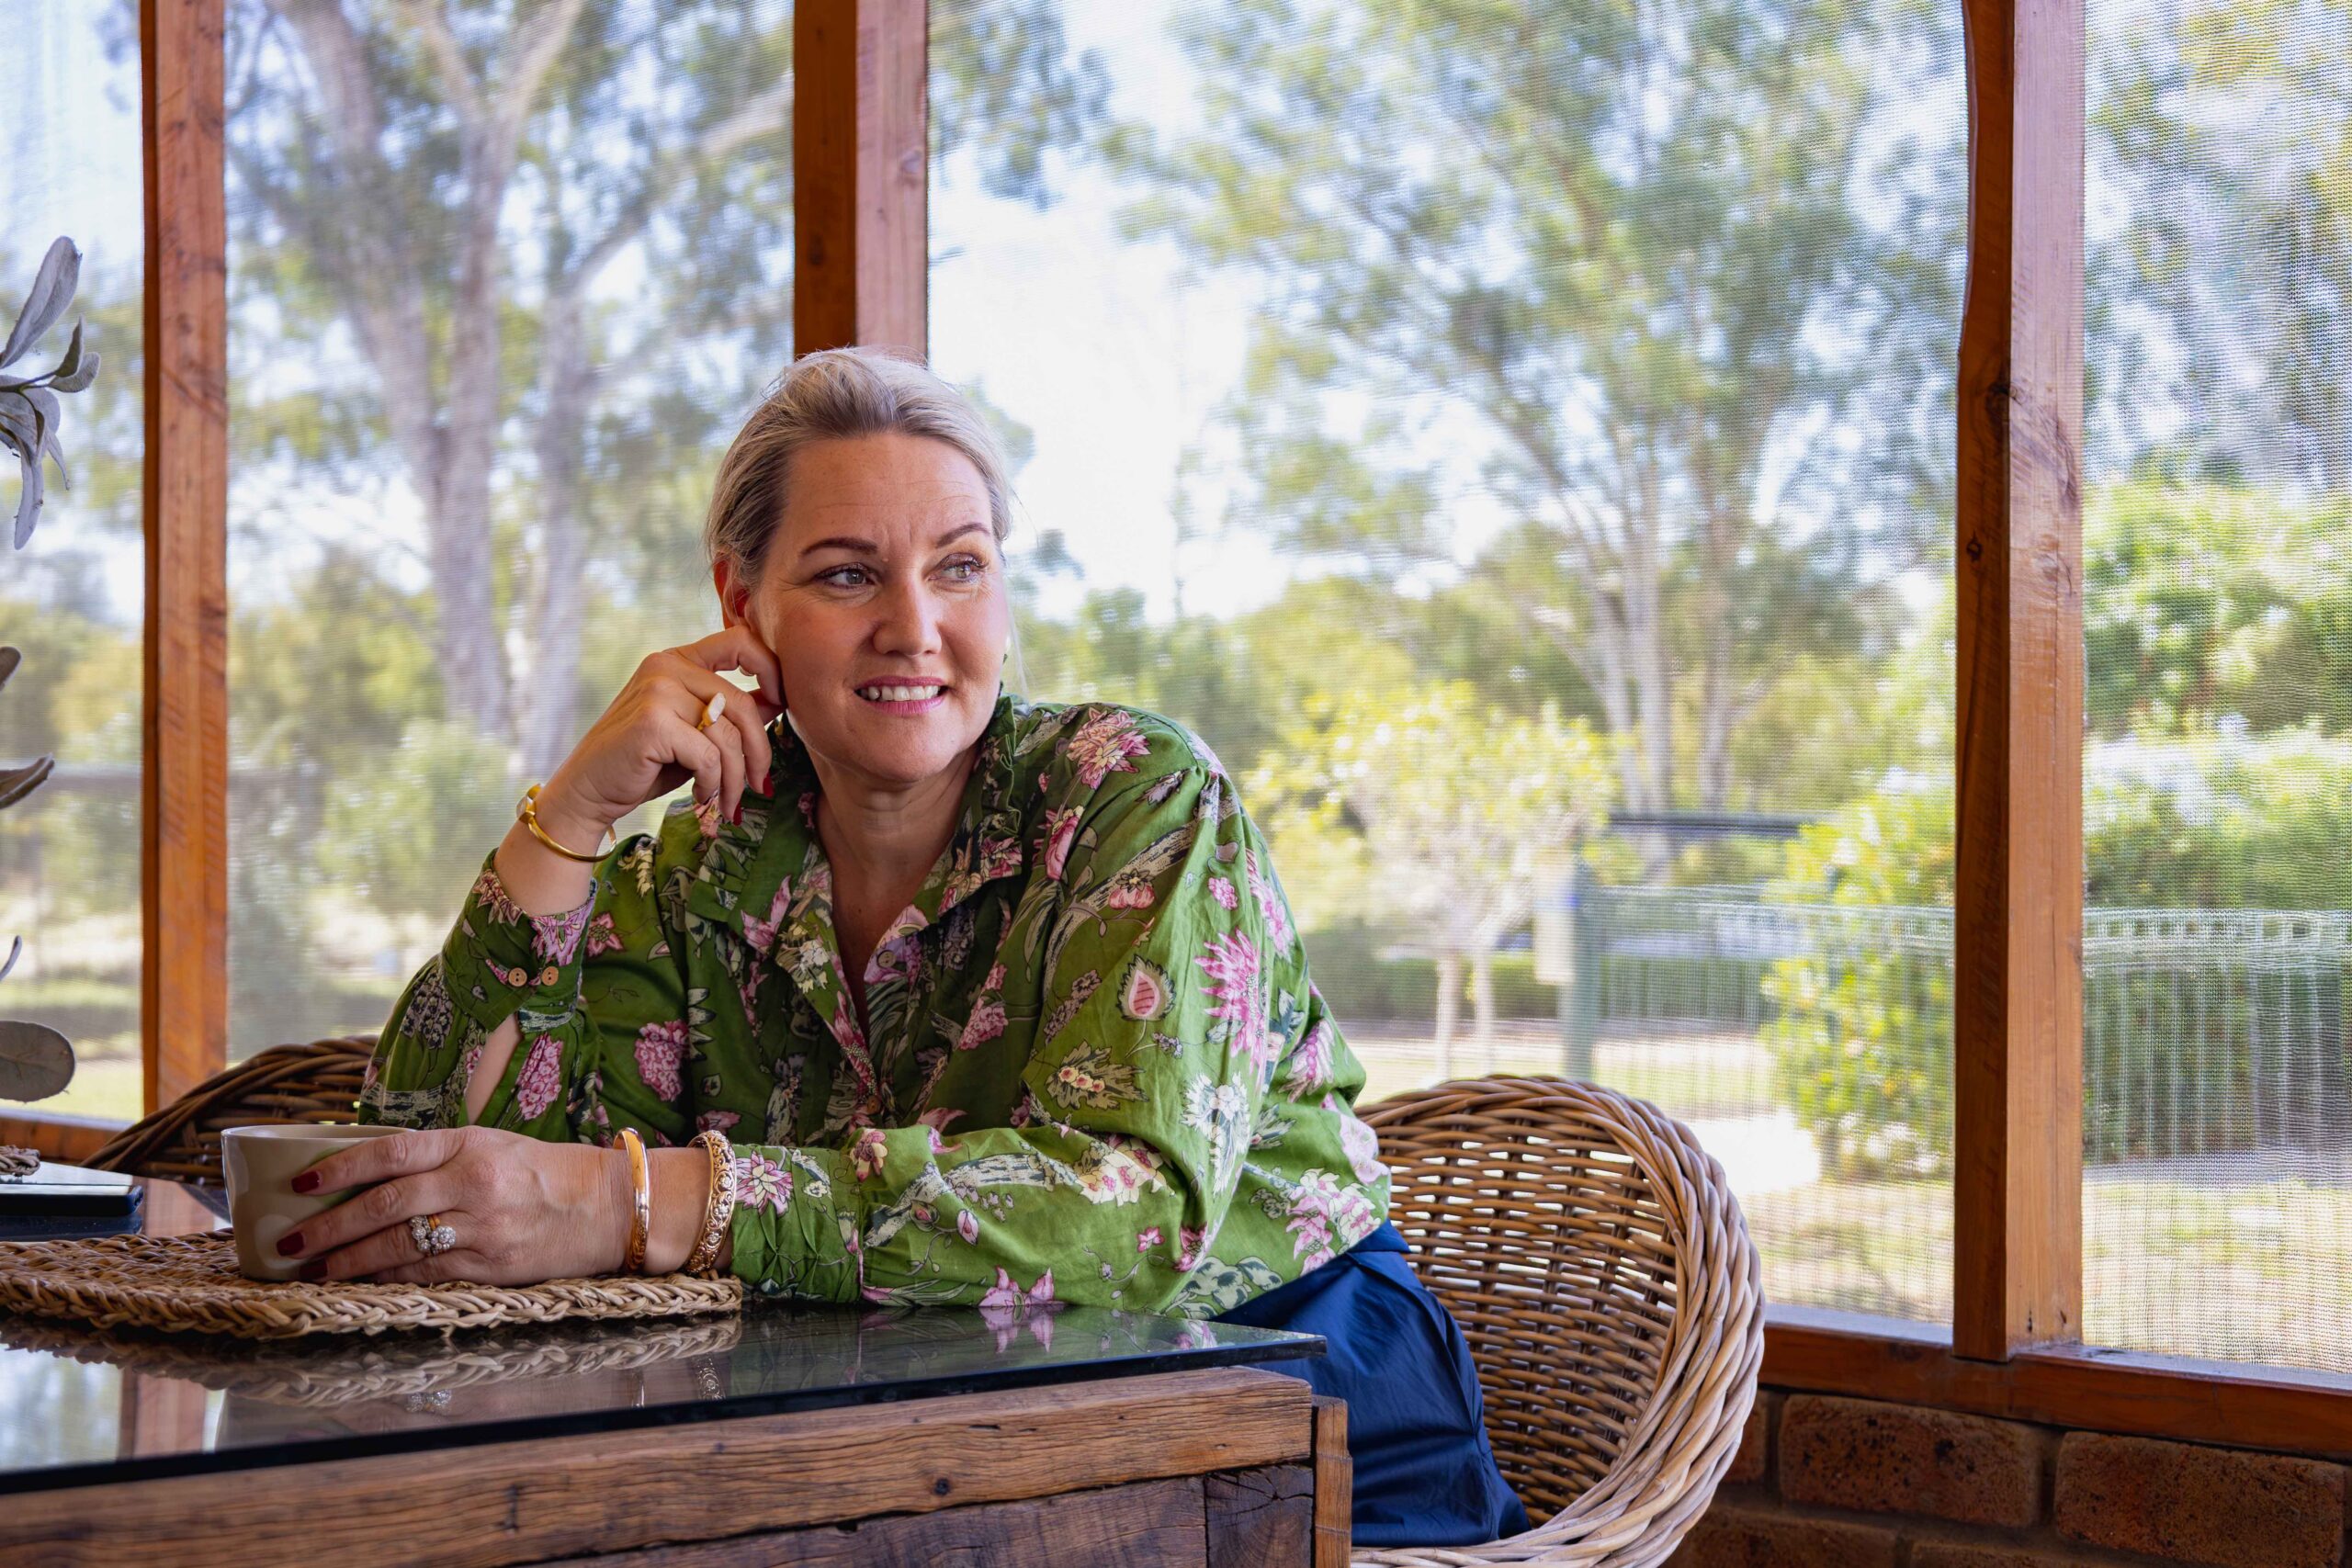
The magic of flour, water and salt... The Shady Baker on the simple joy of baking loaves of sourdough bread.
WORDS AND PHOTOGRAPHY JANE SMITH
I bought all of the books and ordered countless enticing bags of flour and organic ingredients. I purchased the necessary equipment and meticulously weighed and measured. I found myself setting timers and rushing home from the paddock to feed the starter or fold the dough or start the oven, as if every second was the difference between life and bread death.
The kitchen was chaotic as I mixed sticky dough in enormous bowls that were too big for our kitchen sink. Olive loaves and fruit loaves became part of my repertoire, as did solid rye loaves and sourdough pancakes. I continued to read and research and even persuaded my husband, Terry, to attend a sourdough workshop with me.
Selling bread to local cafés and running various bread-inspired workshops and gatherings are all part of my bread-baking past. Making networks with fellow bread bakers is something I will always reflect on fondly: there is a whole world of people out there who are connected purely through flour, water and salt.
Nowadays I approach baking bread a little differently. Timers do not rule my baking life (although they are useful) and it is the tiny steps in the process that I enjoy. The obvious joy in bread baking is the aroma of a fresh loaf, but it is the subtler aromas that I have learned to appreciate and love; such as the sour, earthy smell of the sourdough starter as it bubbles and threatens to escape from its container on the bench. Or the sweet smell of the uncooked dough as it gradually rises.
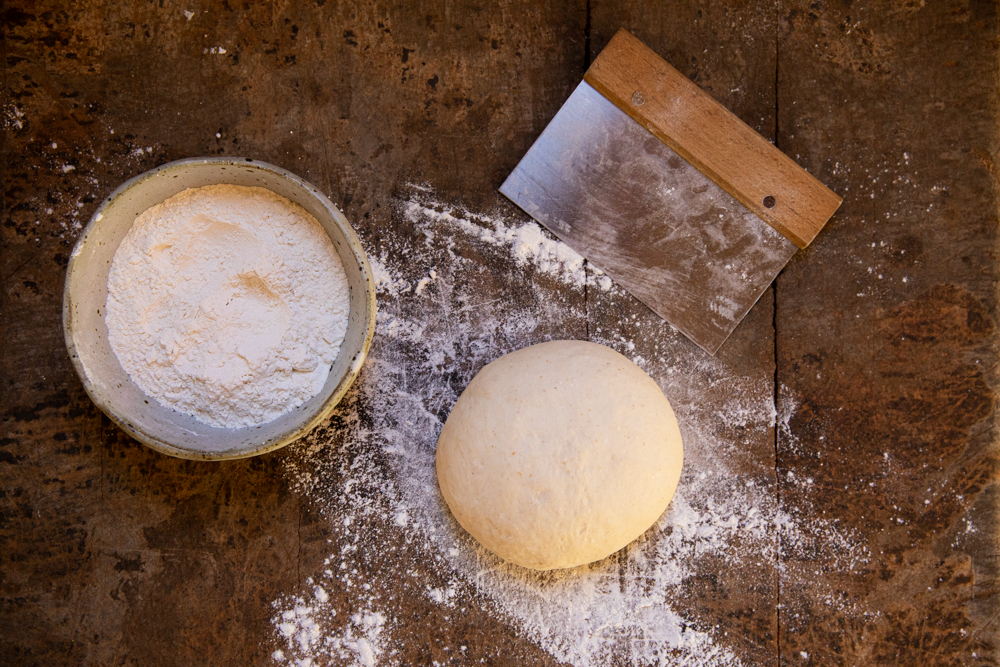
There are other memorable moments in the bread-making process: the satisfying feeling of the sturdy yet silky dough in my hands as it is gently shaped; the moment when the dough drops softly onto the bread peel [paddle], waiting to be slashed and swiftly slid into the oven.
Judging when the dough is fully proved can be a delicate decision. Underproved dough will be flat and lifeless; overproved dough can be puffy and difficult to handle. Paying attention to temperature and humidity is important. In the summer, an active dough can prove quickly and escape from the bowl if not checked. In the winter, dough is slow and steady and might need to be moved into the warmest spot in the house to encourage it along.
Consistent bread baking requires practise and tenacity. Many trends have come and gone in my life, but bread baking has remained a steadying influence. Perhaps it is because, like yoga, it is almost impossible to multitask while bread baking. While the process isn’t difficult, there are a lot of steps, and mixing, shaping and baking all require the baker’s full attention.
These days I fall back on one reliable recipe made with white flour because that is what my family enjoy eating. Our chooks clean up any excess sourdough starter and sometimes neighbours or friends are given a fresh loaf when the timing is right.
Bread baking is much more than following a recipe. It is about learning the basic techniques and then fine-tuning it to suit your equipment, your kitchen and, more importantly, your routine and life.
Baking bread has taught me that good things truly do take time and effort. Bread can be quite forgiving but, like everything else in life, if you try to rush or cheat it will certainly be reflected in the final results. Mixing flour, water and salt is more than just having good toast for breakfast or fresh bread for sandwiches. Baking becomes a grounding ritual that adds colour and fulfilment to everyday life.
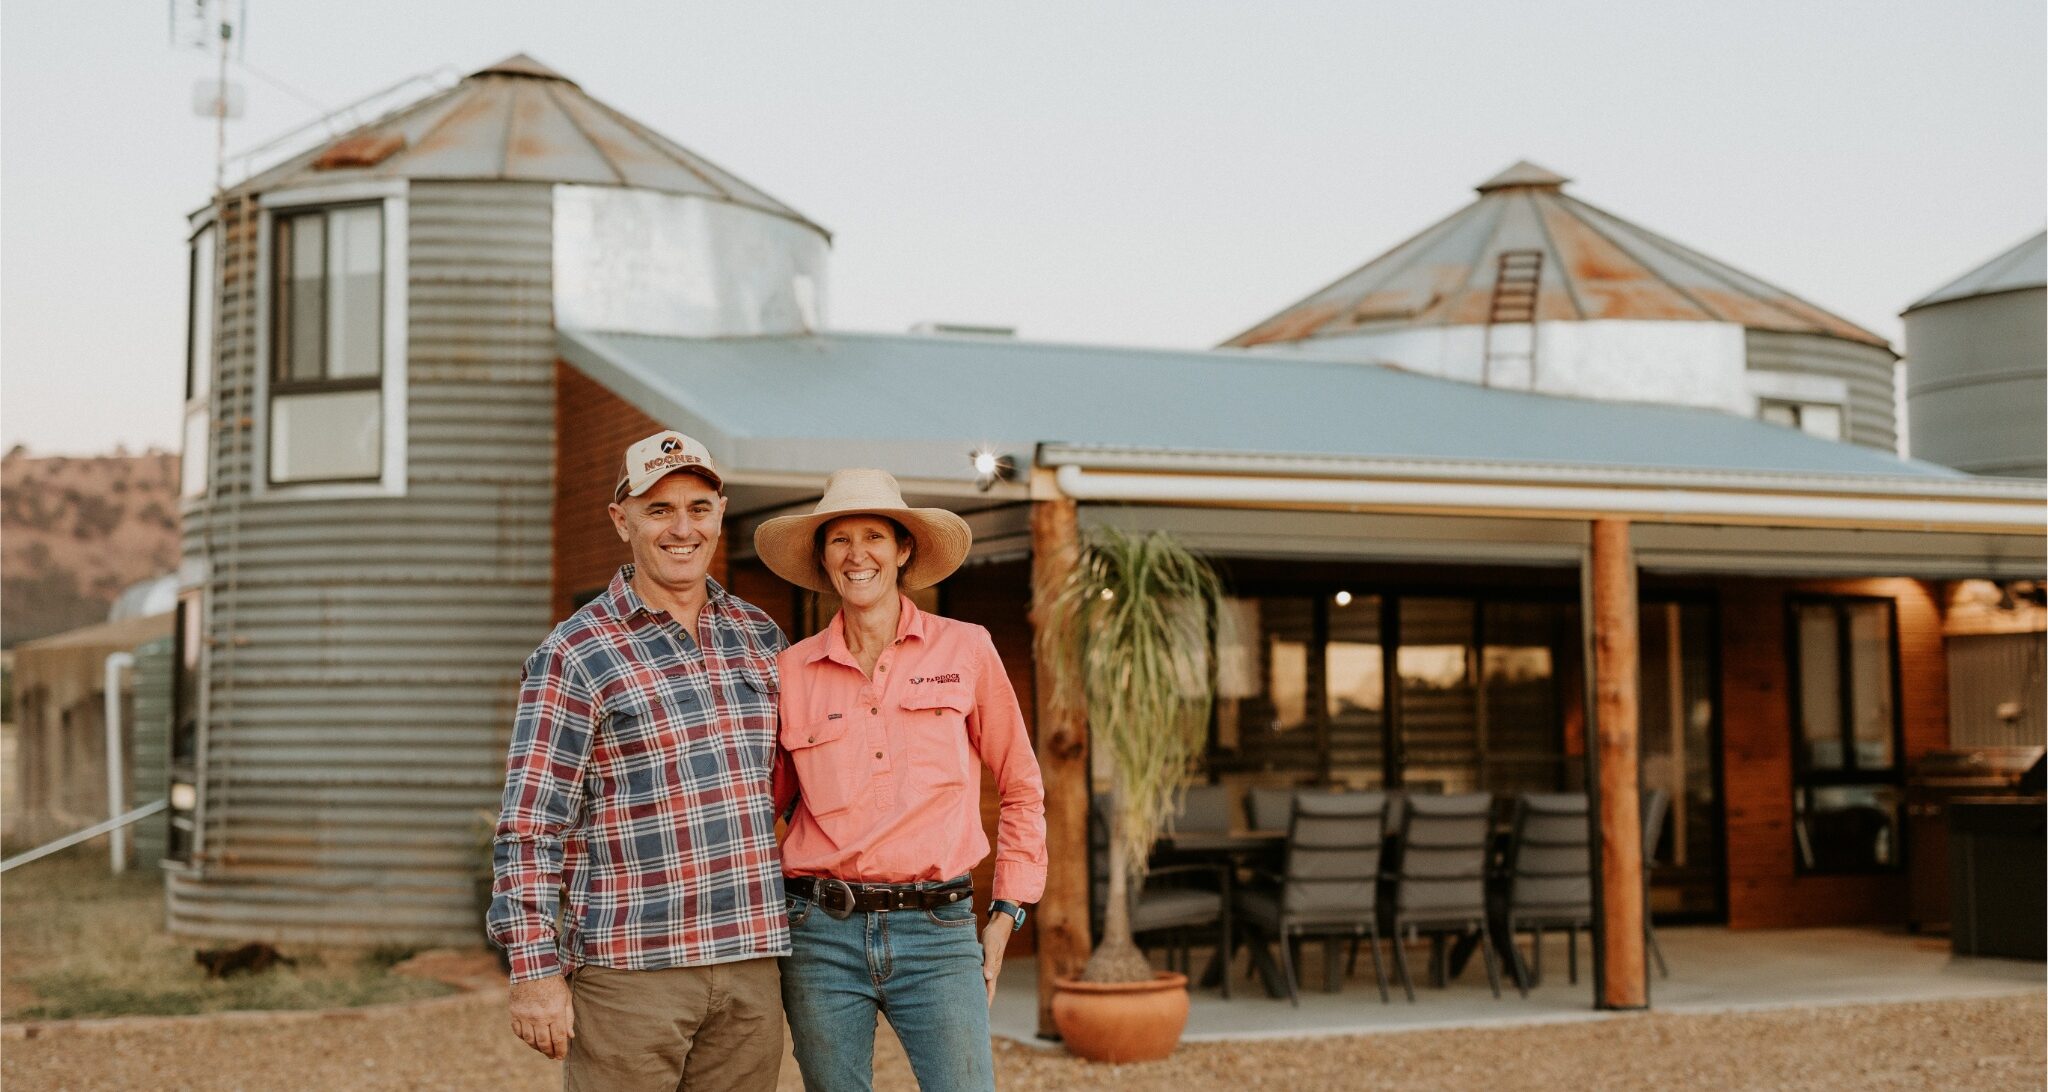
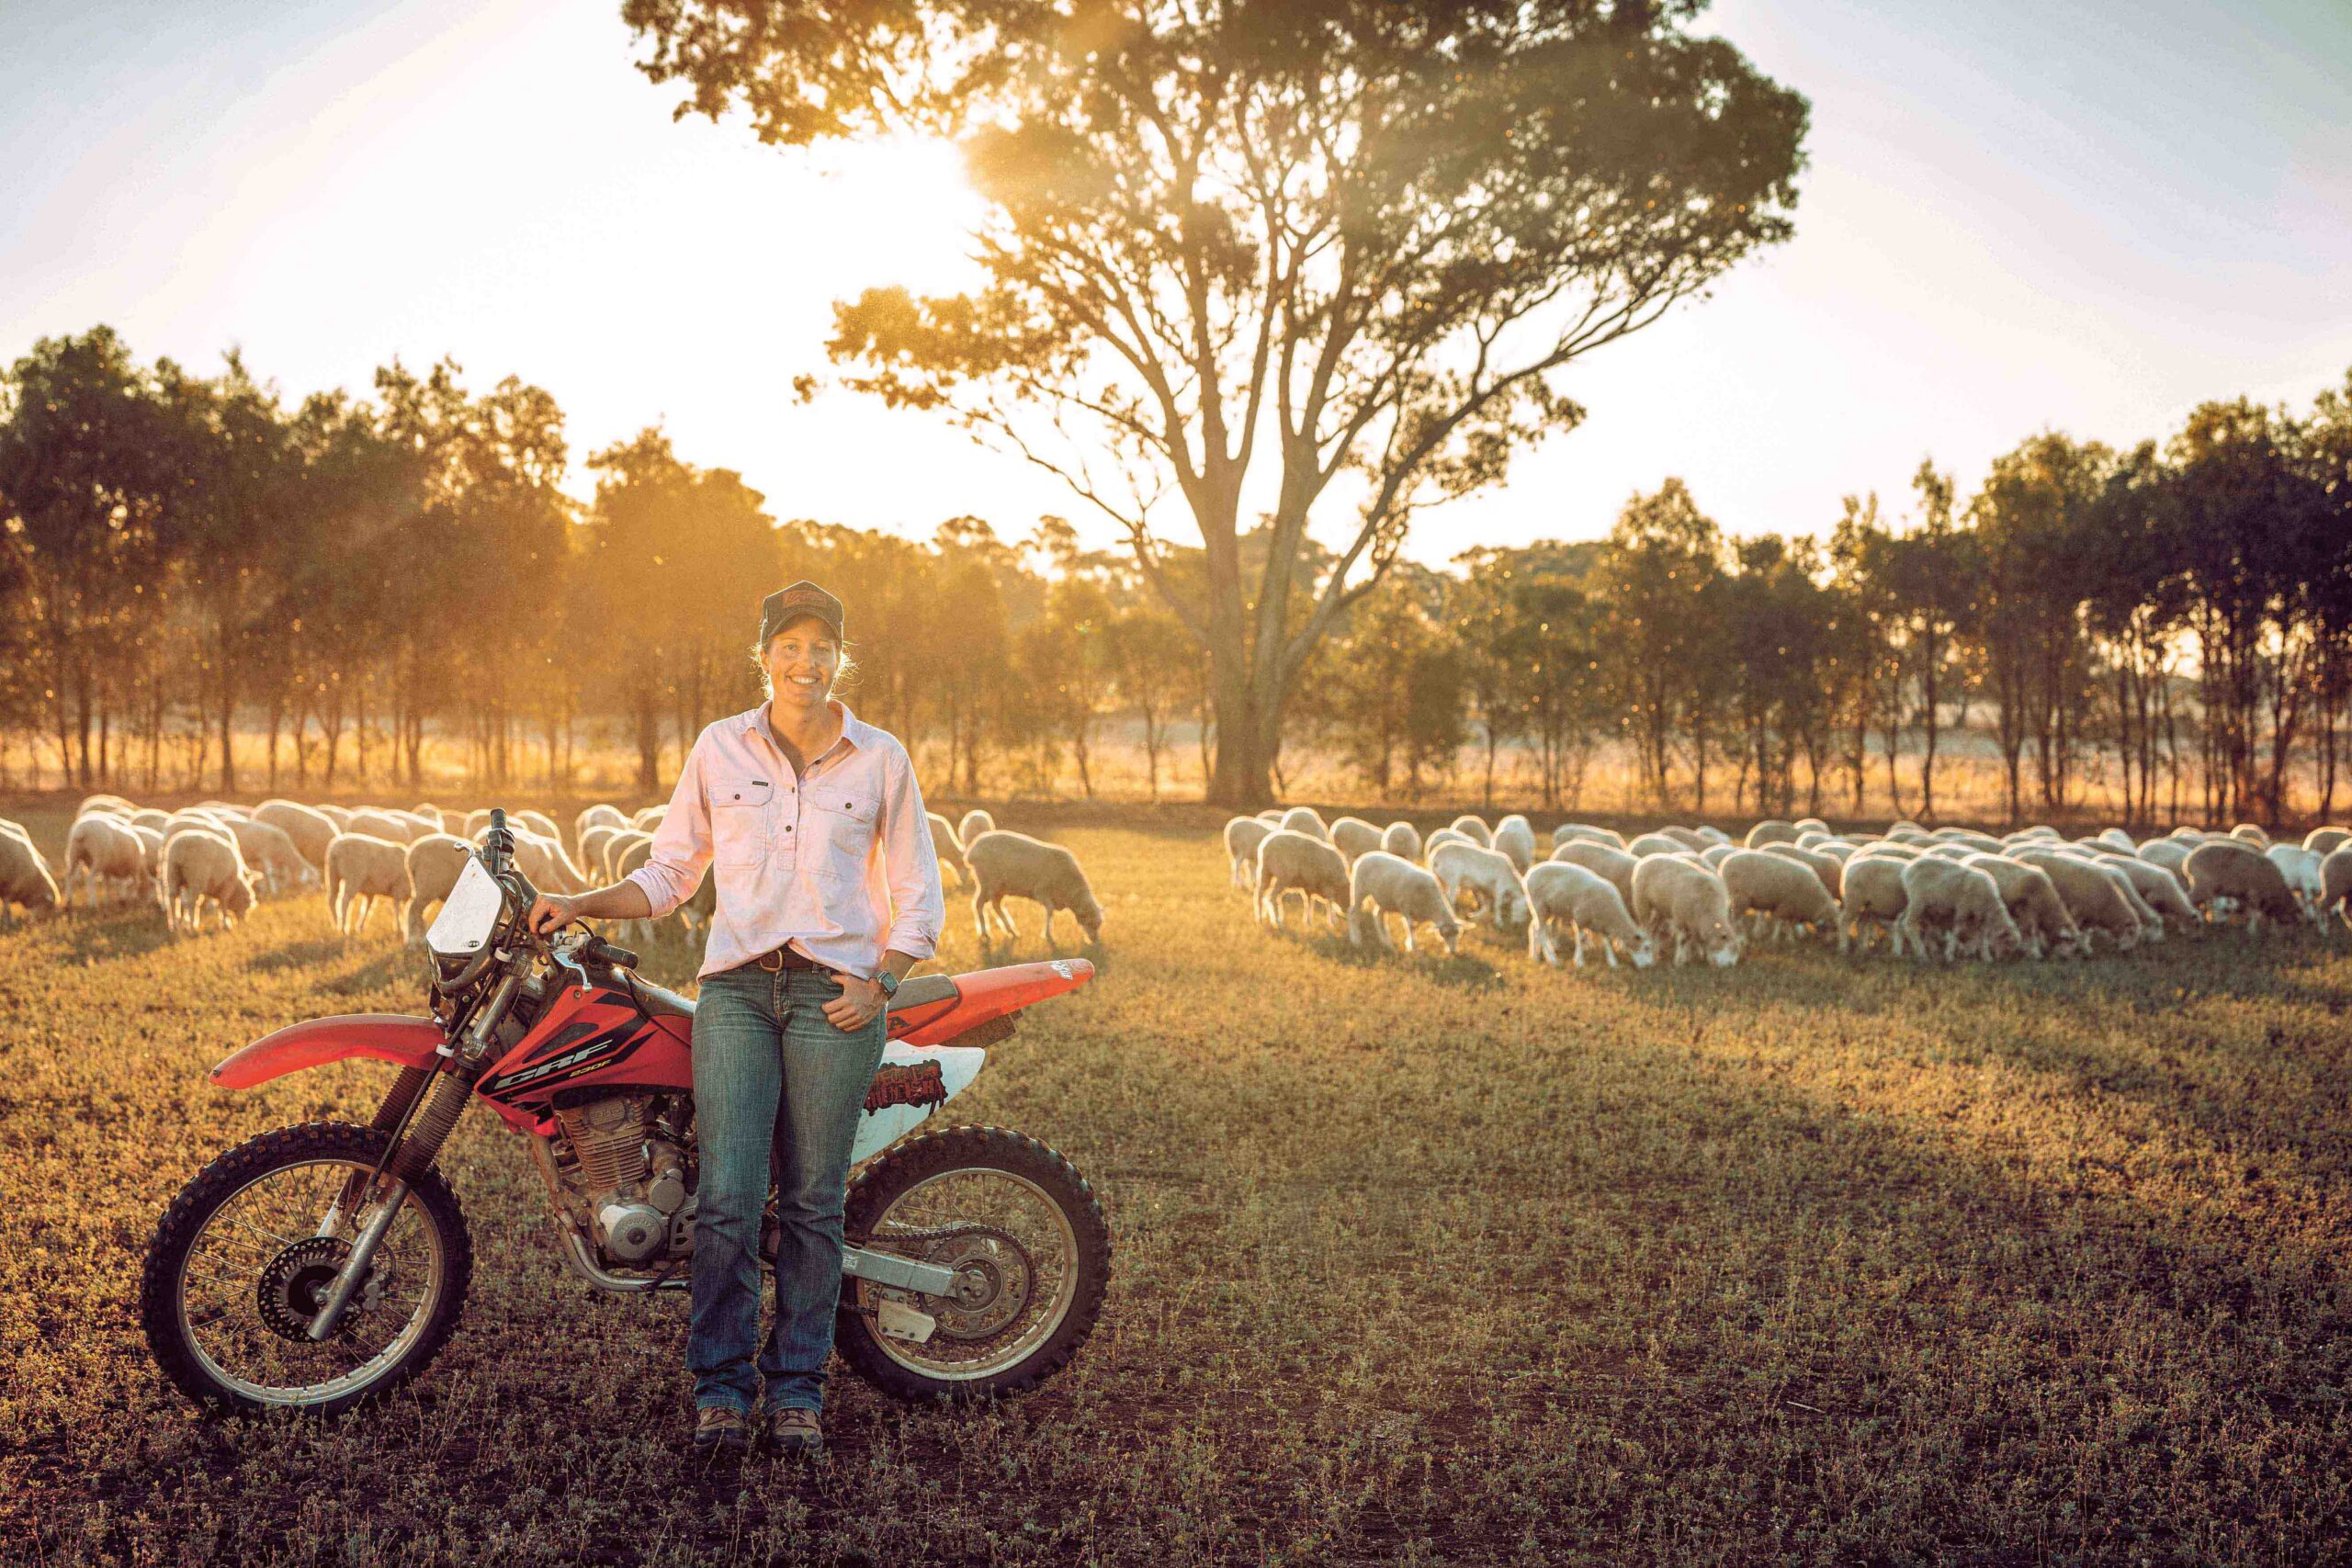
The Shady Baker chats to Graziher’s Life on the Land podcast about her life on a sheep station east of Broken Hill and her love of cooking for her family. Article continues below.
WHITE SOURDOUGH BREAD
Makes approximately 550g of dough, enough for 1 medium-size loaf.
135g active, bubbly sourdough starter*
255g white bread flour
150g water
8g salt
100g rye flour, for dusting banneton**
100g rice flour, for dusting banneton
Semolina, for dusting bread peel***
Equipment
Digital kitchen scales
Olive oil spray, for benches and bowls
Plastic or stainless steel dough scraper, optional
23cm oval banneton
Plastic container with lid, to fit banneton and dough, if you have one
Pizza stone or baking tiles (or a baking tray lined with baking paper)
Sharp knife or scalpel
Bread or pizza peel, optional
Water spray bottle
1. Combine the starter, flour and water in a large bowl. Mix to form a shaggy dough. Turn out onto a clean, lightly oiled surface and knead with your hands for about 5 minutes until you have a rough dough. A dough scraper may be useful at this stage to help bring the mixture together. Cover with a clean cloth and set aside to rest for 20 minutes. Sprinkle with salt and knead for a further 5–10 minutes or until the salt is well combined and the dough is smooth and elastic.
2. Lightly spray the bowl with olive oil spray. Return dough to the bowl. Cover and allow to prove (rise) for 1 hour.
3. In the bowl, gently push the dough down, turn and fold over. Cover and allow to prove for another 1 hour.
4. Gently tip dough out onto a clean, lightly oiled surface. Cup your hands around the dough and, using a rounding motion in an anticlockwise direction, tuck the sides underneath to form a tight, smooth ball. Rest the ball, seam-side down, on the work surface for 20 minutes. This resting time is important or the dough will be difficult to shape.
5. While the dough is resting, prepare a banneton. Combine the rye and rice flour in a bowl or container, to create a gritty, dry mixture that will prevent the dough from sticking. Line the banneton with a generous layer of this mixture.
6. Gently press the dough out into a rectangle, about 2.5cm thick. Starting from 1 long side, roll up the dough into a log shape, pressing the seam firmly together. Tuck the ends over and place the dough in the prepared banneton, seam-side up.
7. Place the banneton and dough in the large plastic container and cover with the lid. This will keep the dough safe from bumps, dust, pets, insects, and so on, and prevent the dough from drying out.
8. Set aside to prove for 4–8 hours. The time will depend on the temperature and humidity. When pressed with your finger, the loaf should spring back gradually; if it holds the indent, it needs more time.
9. When fully proved, chill the dough in the refrigerator for 8–10 hours or overnight. This long fermentation time helps the dough develop flavour and structure.
10. If using a pizza stone or baking tiles, put the cold stone or tiles into the cold oven. Preheat the oven to its highest temperature (around 260°C, not fan-forced). Do not rush the preheating stage.
11. Remove the dough from the refrigerator and turn it out, seam-side down, onto a bread peel dusted liberally with semolina. Alternatively, turn the dough out onto a baking tray lined with baking paper.
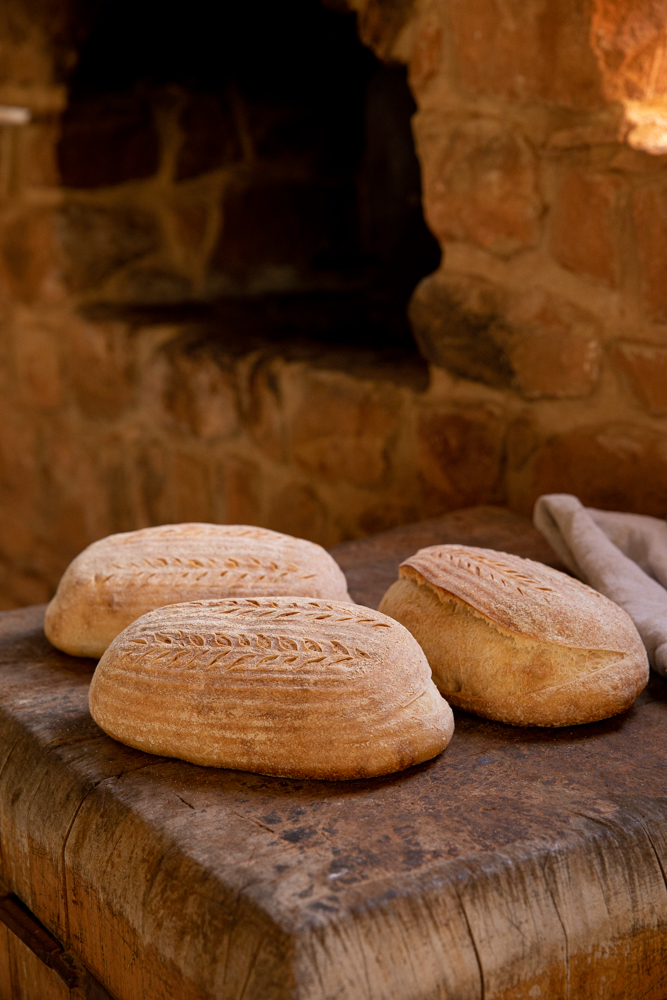
12. Score the top of the loaf carefully but decisively with the sharp knife or scalpel. Keep the scoring simple to begin with: as you gain confidence there are many beautiful scoring patterns to practise.
13. If using a bread peel, swiftly slide the dough directly onto the stone or tiles in the oven. Alternatively, put the baking tray in the oven.
14. Using the spray bottle, mist the oven quickly with water to create steam and shut the oven door. Bake for 20 minutes, then turn the loaf around and bake for a further 10–15 minutes. When it’s ready, the base should sound hollow when tapped.
15. Remove from the oven and allow to cool on a wire rack. Do not attempt to cut it while it is still warm, as it can be quite gluey until cooled.
NOTES
* Sourdough starter is available online. Alternatively, fellow home bakers are usually willing to share their starters.
** A banneton is a rattan basket that supports the dough in the proving stage, available from baking suppliers and kitchen equipment stores.
*** A peel is a large flat blade with a long handle that is used to place and remove loaves from the hot oven.
Visit The Shady Baker website or find Jane on Instagram.
Subscribe to Graziher and never miss an issue of your favourite magazine! Already a subscriber? You can gift a subscription to someone special in your life.
To hear more extraordinary stories about women living in rural and regional Australia, listen to our podcast Life on the Land on Apple Podcasts, Spotify and all major podcast platforms.

The Kalkadoon women capture the colours of Queensland’s Gulf Country as co-owners of Cungelella Art.
A designer, consultant and store owner, Bec Fing says the secret to “having it all” is hiring the best in the business.
Take advantage of the cooler temperatures and slower growth, writes Claire Austin.
Take advantage of the cooler temperatures and slower growth, writes Claire Austin.
Having worked on farms for most of her life, Caitlyn knows what it takes to run a successful agribusiness in the Riverina.
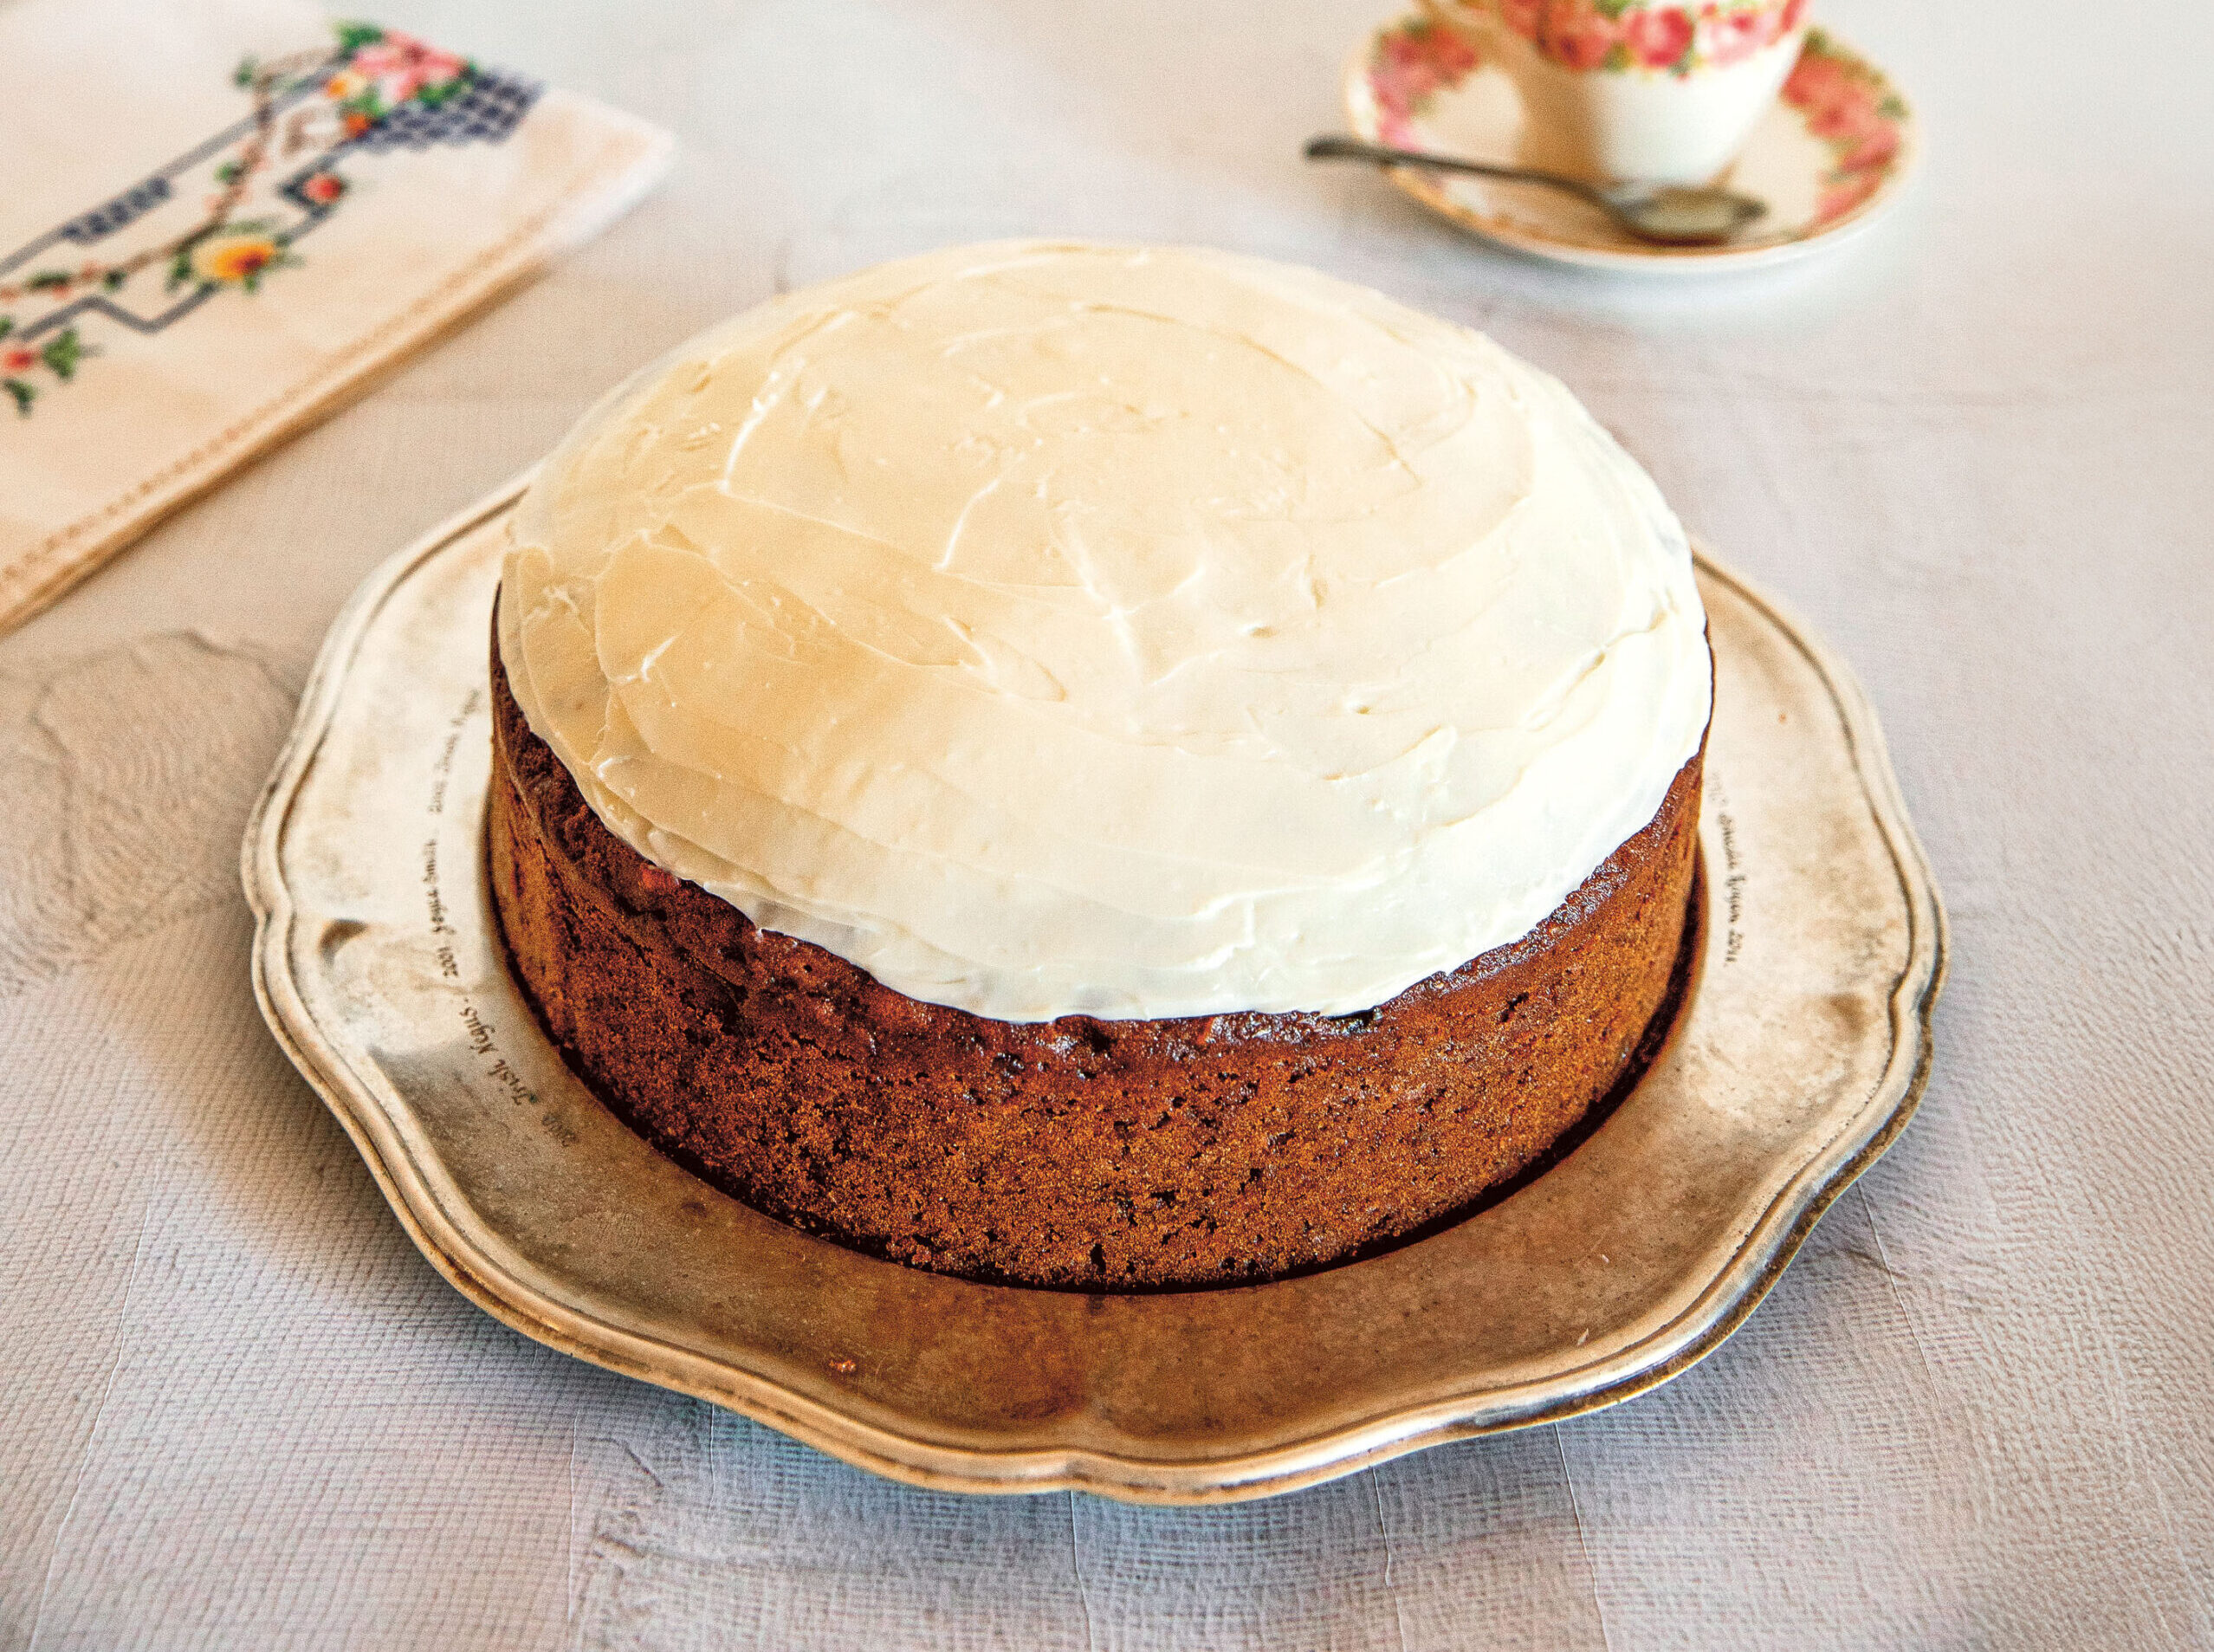
She shares her baking tips with Jane Smith, plus recipes for “radio” biscuits, berry jam and honey joys.