




Photography The Shady Baker
Sign up to our mailing list for the best stories delivered to your inbox.
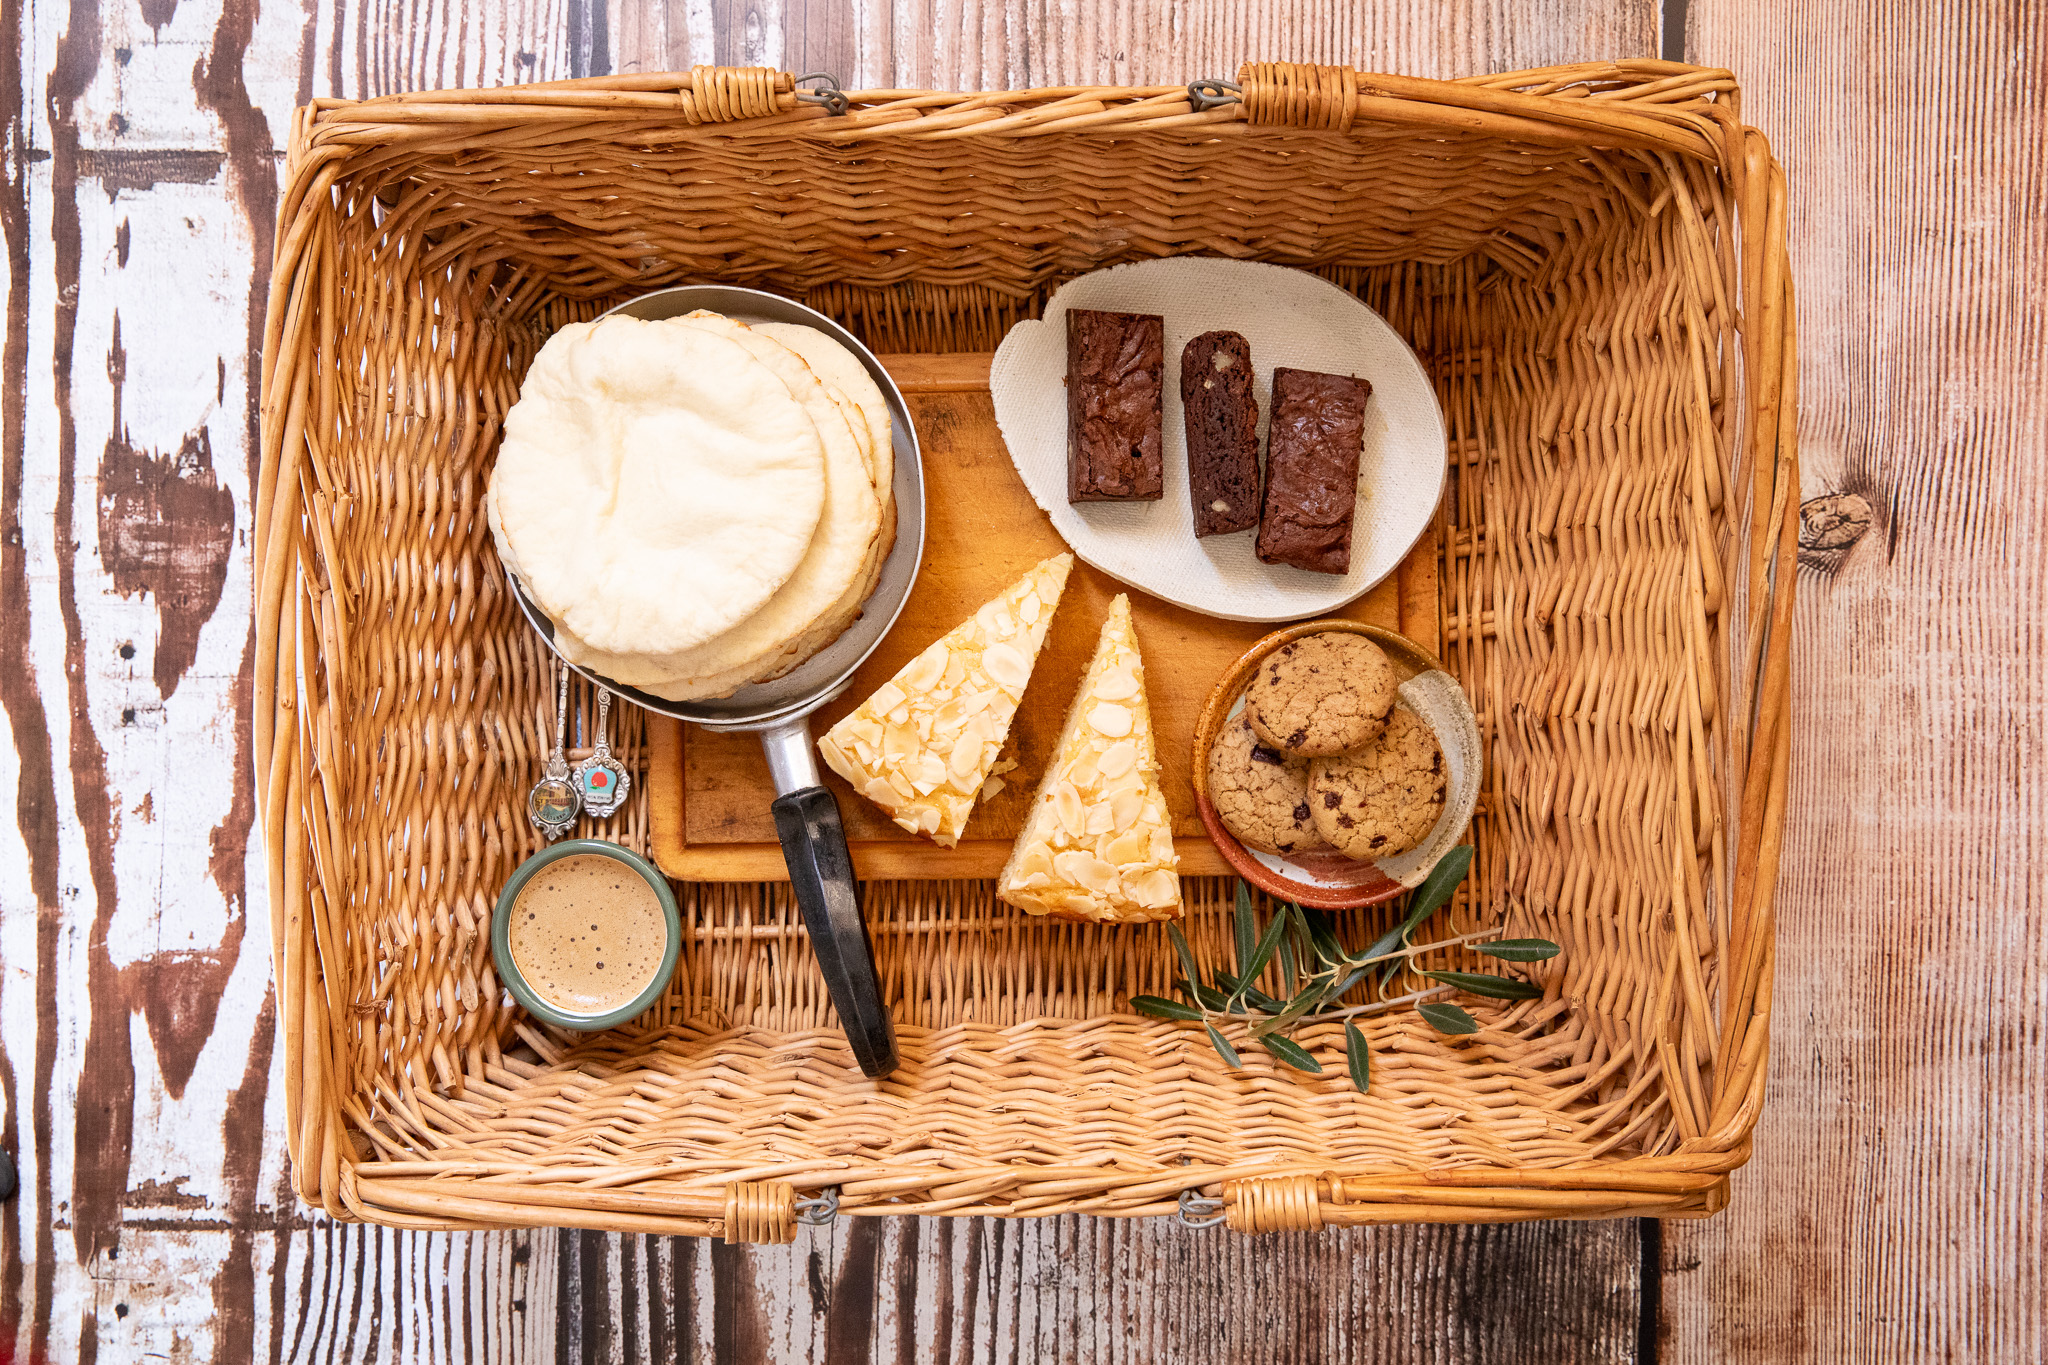
The annual olive harvest inspires Jane Smith to share recipes that showcase the tangy flavour of freshly pressed oil.
Words Jane Smith
Photography The Shady Baker
Photography The Shady Baker
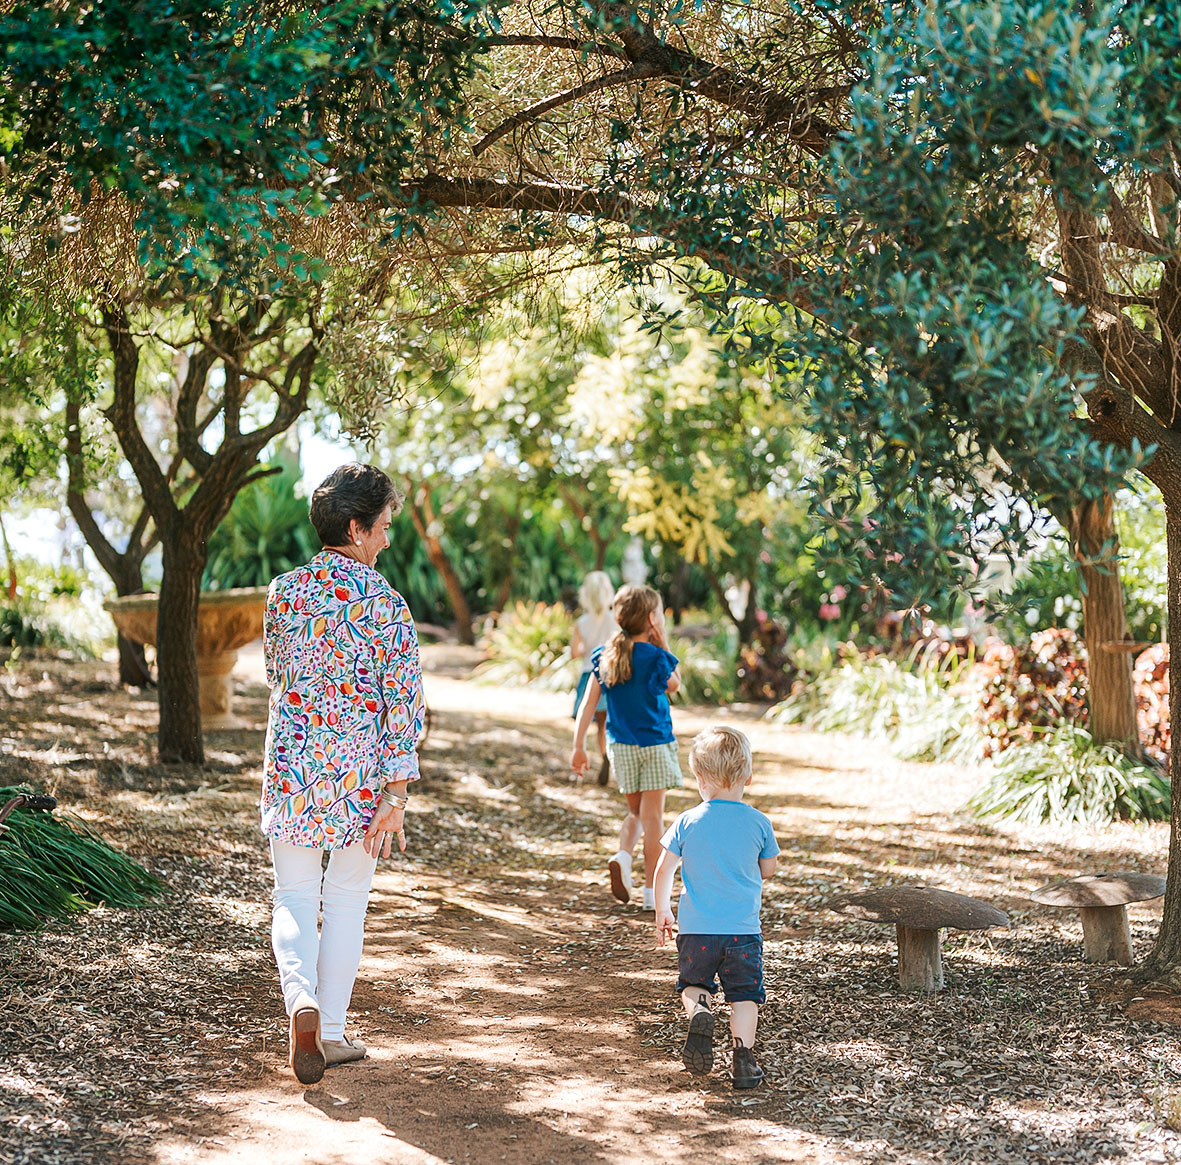
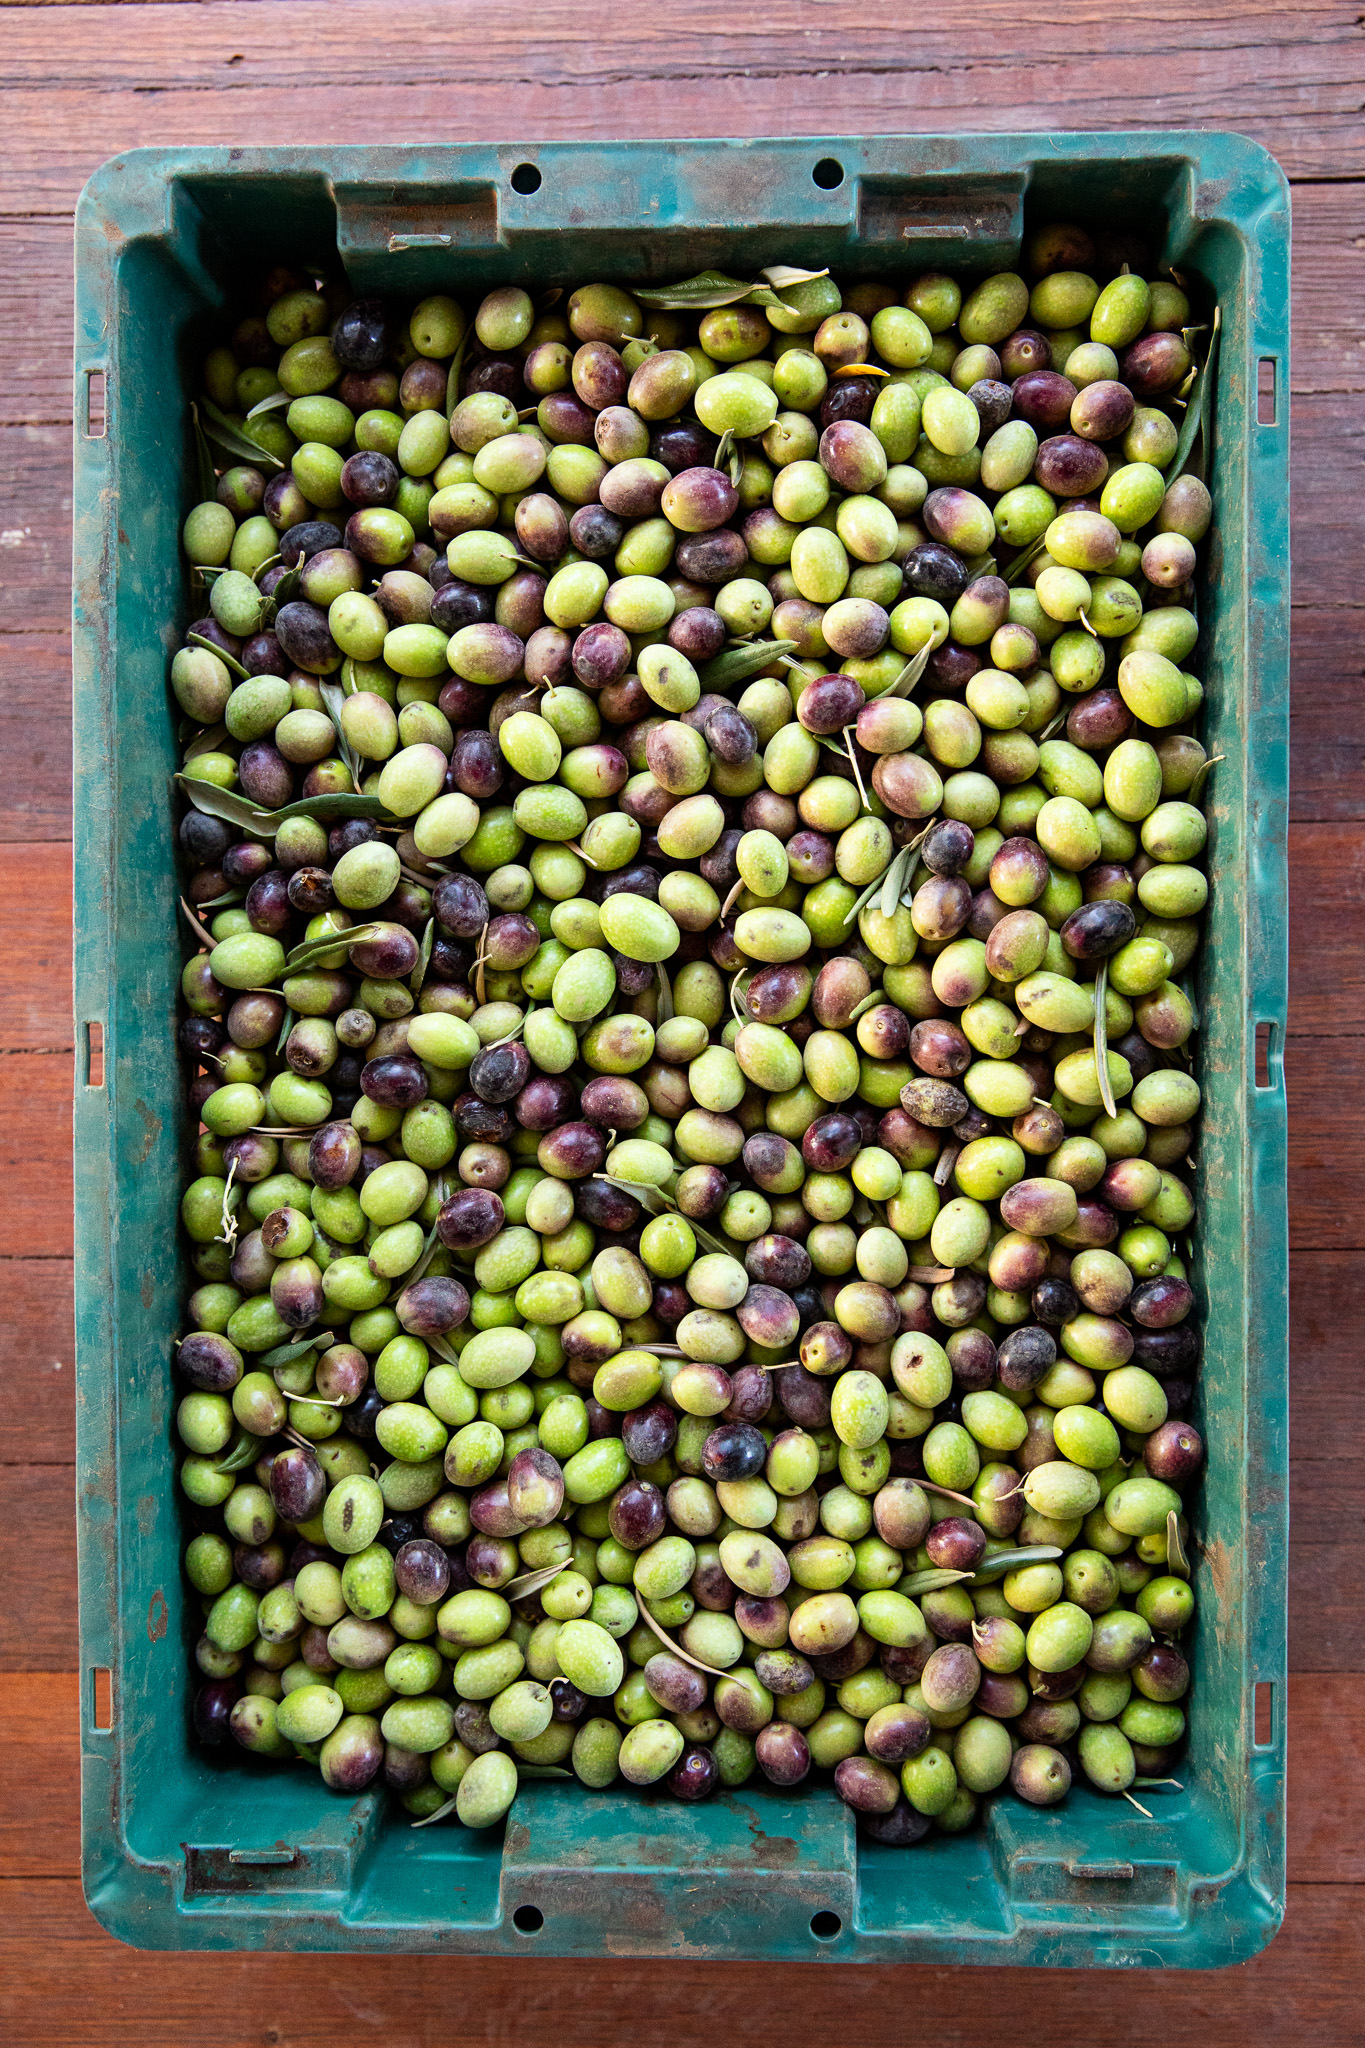
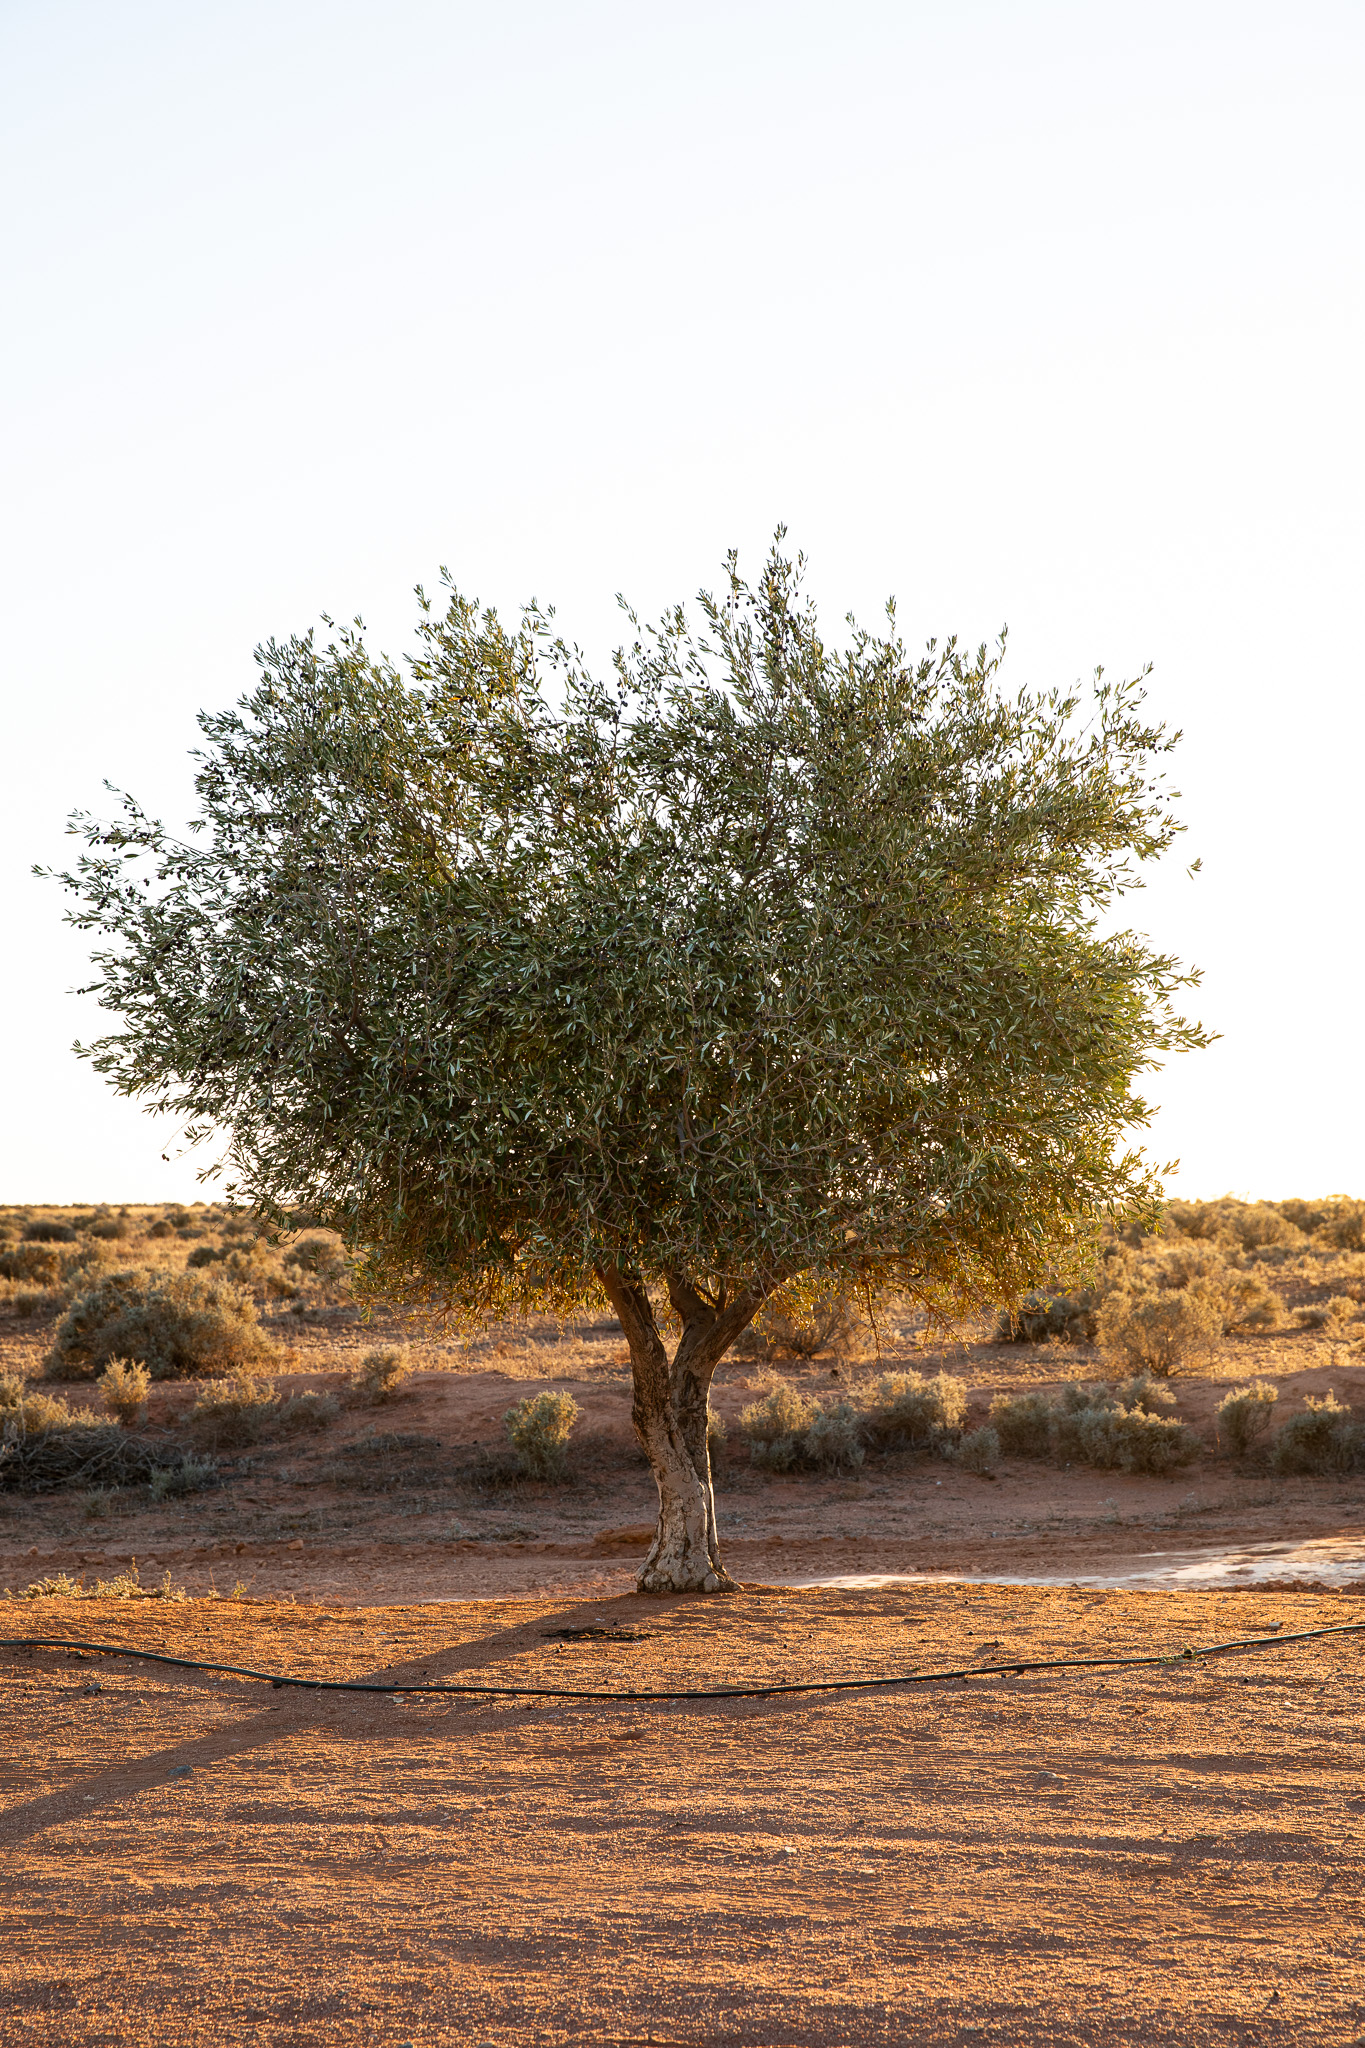
Our olive trees stand tall and proud, their roots firmly lodged in the red dirt and their trunks gnarled by the weather and years of nibbling sheep and goats. Season after season, station life unfolds around the grove that stretches out in rows around our woolshed. Enormous trucks transporting our sheep, cattle and wool to the markets rattle past, loaded with our precious freight. Motorbikes buzz past the trees just before sunrise as the family heads out for a day of mustering stock. Station vehicles pass multiple times a day as we go about running waters, fencing, checking stock and delivering smoko to the paddock. There is a clear view of the Indian Pacific train as it whistles past, carrying passengers from Perth to Sydney and back again, twice weekly. At shearing time thousands of sheep pass under the branches and every year around Anzac Day we assemble to pick the oil-laden fruit.
Many years ago, my husband Terry and I planted the olive trees around our sheep yards and woolshed. The grove has since expanded to our house paddock, garden and shearers’ quarters. Our initial concept was to provide shade, shelter and a windbreak for livestock. As we planted those skinny sticks into the earth, an actual harvest seemed a very long way off.
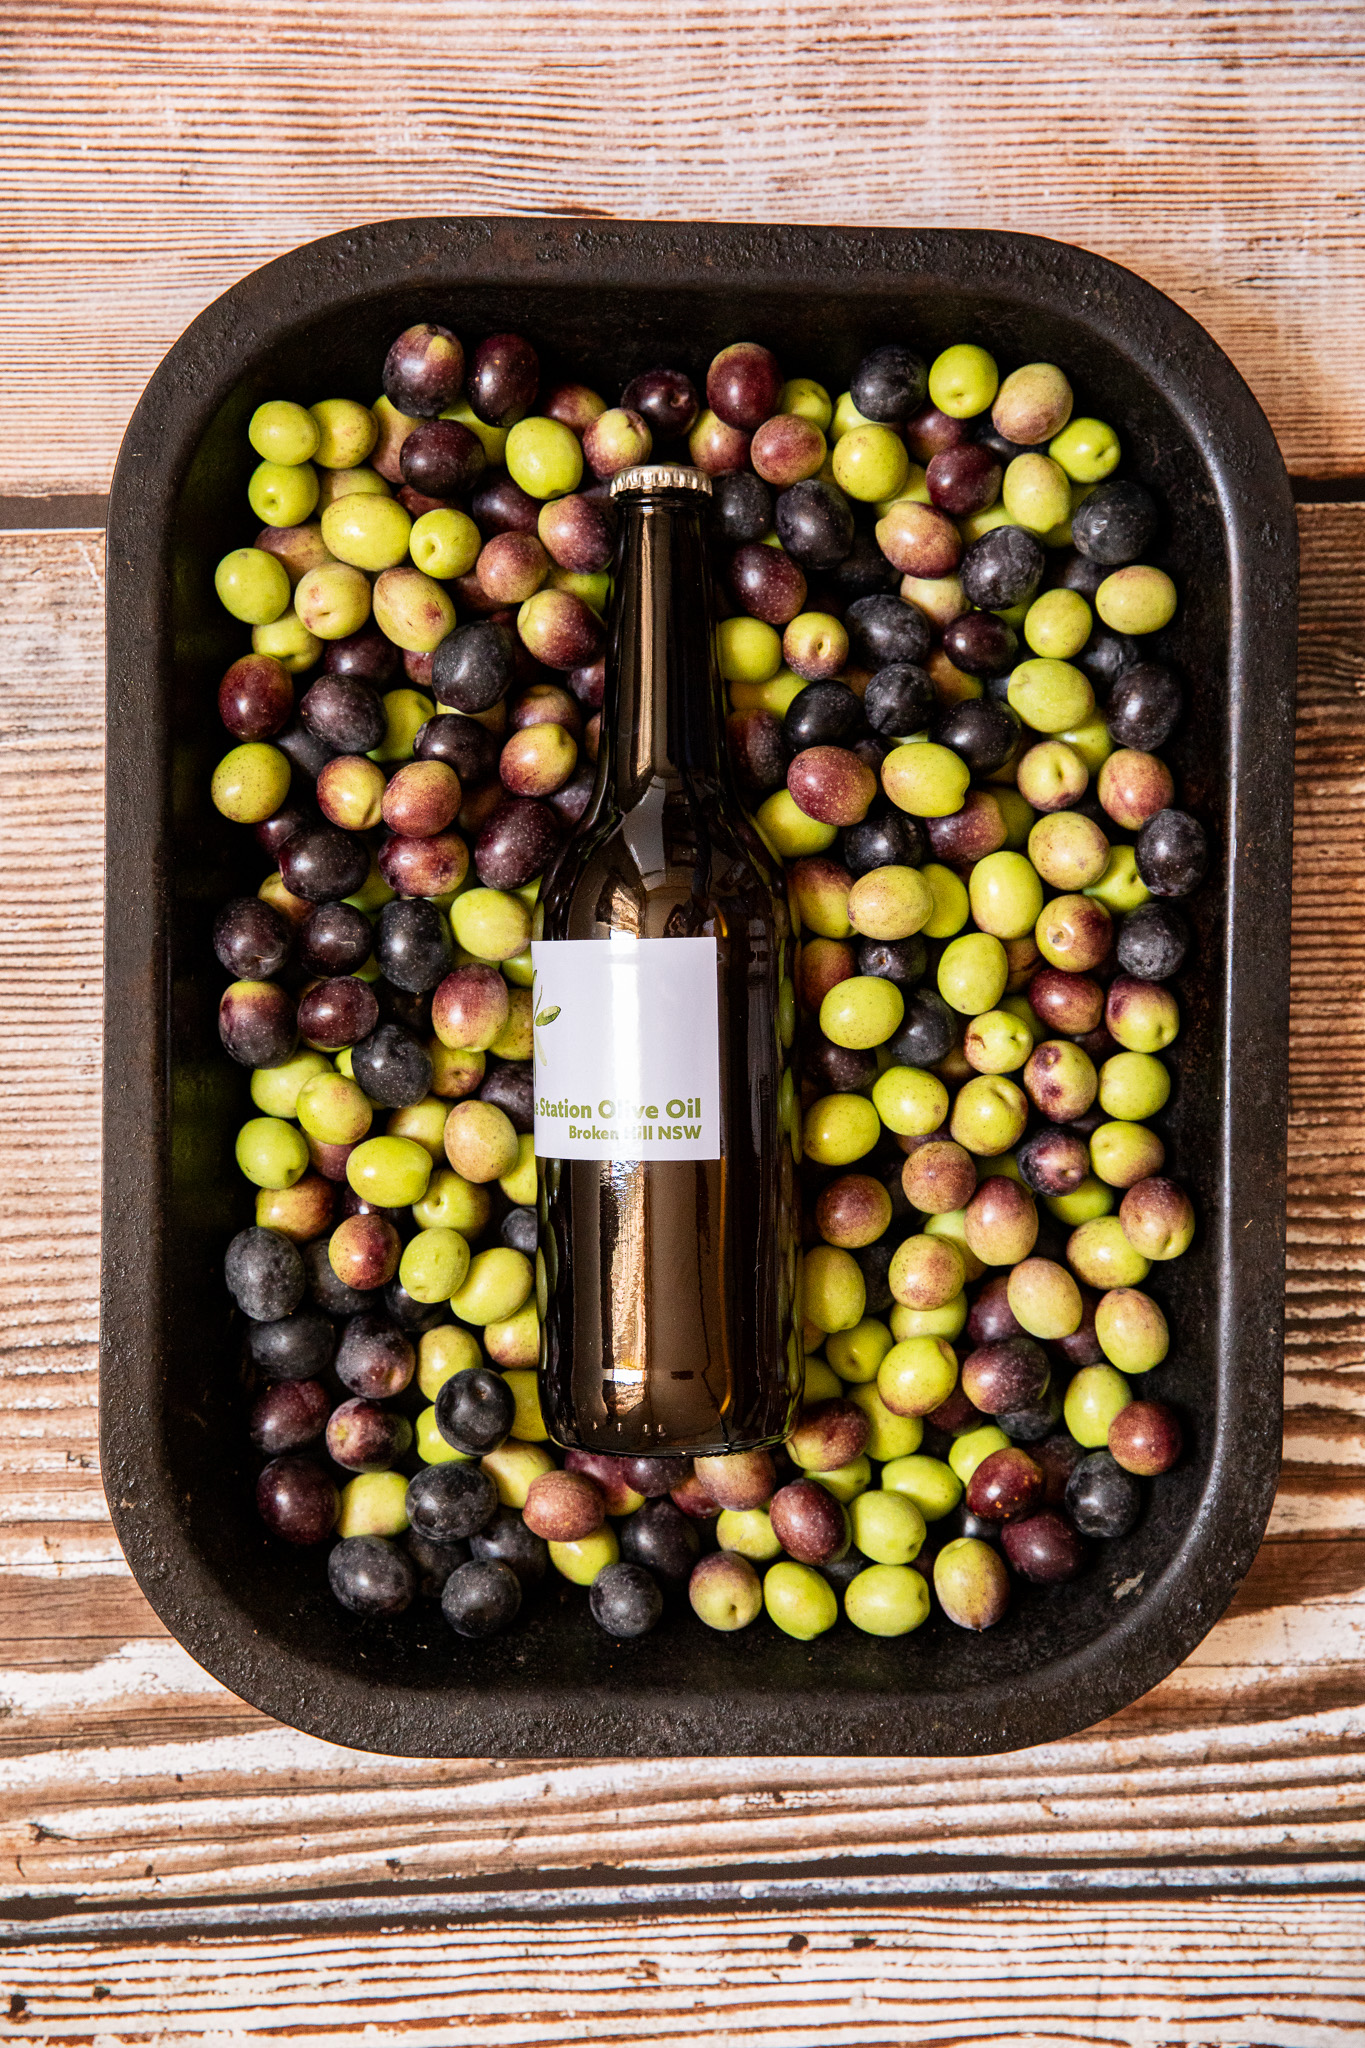
In 2007 we joined the Broken Hill Gourmet Products cooperative and this was when we began pressing our own oil. A group of dedicated members coordinate the harvesting of local heritage olive trees, manage an olive grove on rehabilitated mining land and produce olive oil using their own oil press and machinery.
On our property today we have around 300 mature olive trees of different varieties. The fruit varies in size, shape, colour and texture depending on the time of harvest, watering schedules and soil type. One thing that remains consistent is the resilience of the trees. They survive fierce summers, frosty winters and the occasional dust storm while creating green space in a bare landscape.
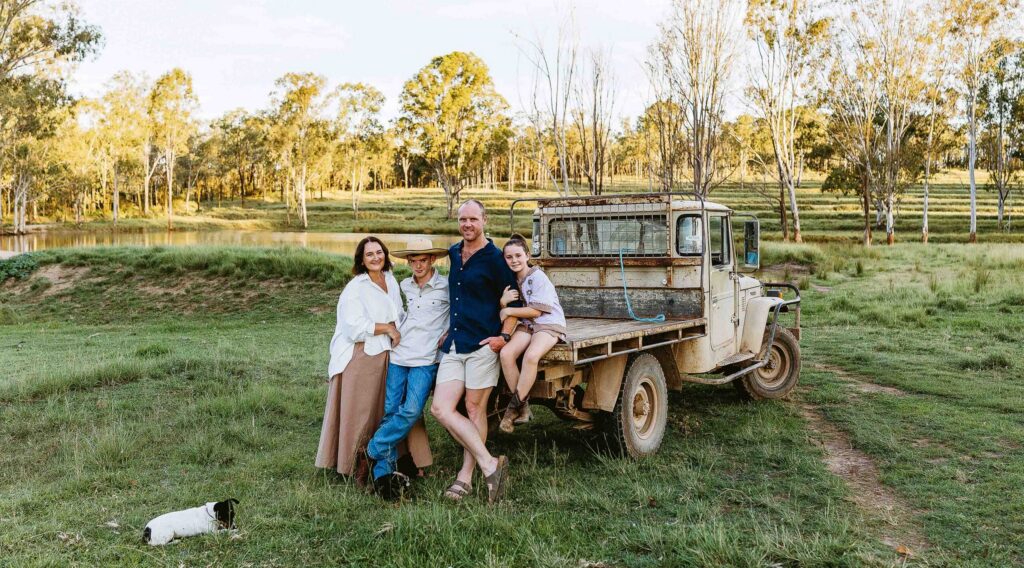
This season we were short-staffed for our harvest so it was up to Terry, our 16-year-old son George and me to get the job done. Harvesting is done by laying out large green mats under the trees and knocking the olives onto the mats with a handheld picking machine. The olives are gathered up on the mats, tipped into crates and stacked. Then the fruit is transported to the oil press in Broken Hill where it is washed, pressed and finally bottled.
Harvesting is heavy, repetitive work but we soon settled into a steady rhythm with a few snack breaks and George’s selection of music on high volume to help the time pass. Working alongside George reminded me of what a capable, practical and reliable young man he has become. Terry and I are lucky to have our children helping us at this stage of our lives and we try to savour every moment of it.
In late 2024 we sold our first bottles of oil to the public through The Broken Hill Bookshop, where both travellers and locals are often seeking locally made products. Perhaps it was due to weary Christmas shoppers or it was curiosity, but we couldn’t keep up with sales. Prior to 2024 we had used the oil for our own consumption, given it as gifts, traded it for other goods and also contributed a portion back to the co-op. After the sales rush, we decided to take a step back while we refined our bottling process and consolidated our supplies. We have invested in equipment to make oil storage more manageable and we have updated our labelling.
This year we will once again be marketing our oil locally. The freshly pressed oil has a clean, slightly bitter taste and our favourite way to test it is splashed over late-season tomatoes on a piece of chunky bread. We are fortunate to harvest such a beautiful product from these trees that provide us with so much more than just oil.
The recipes here all use olive oil to add flavour and moisture; I recommend you use fresh, well-flavoured oil.
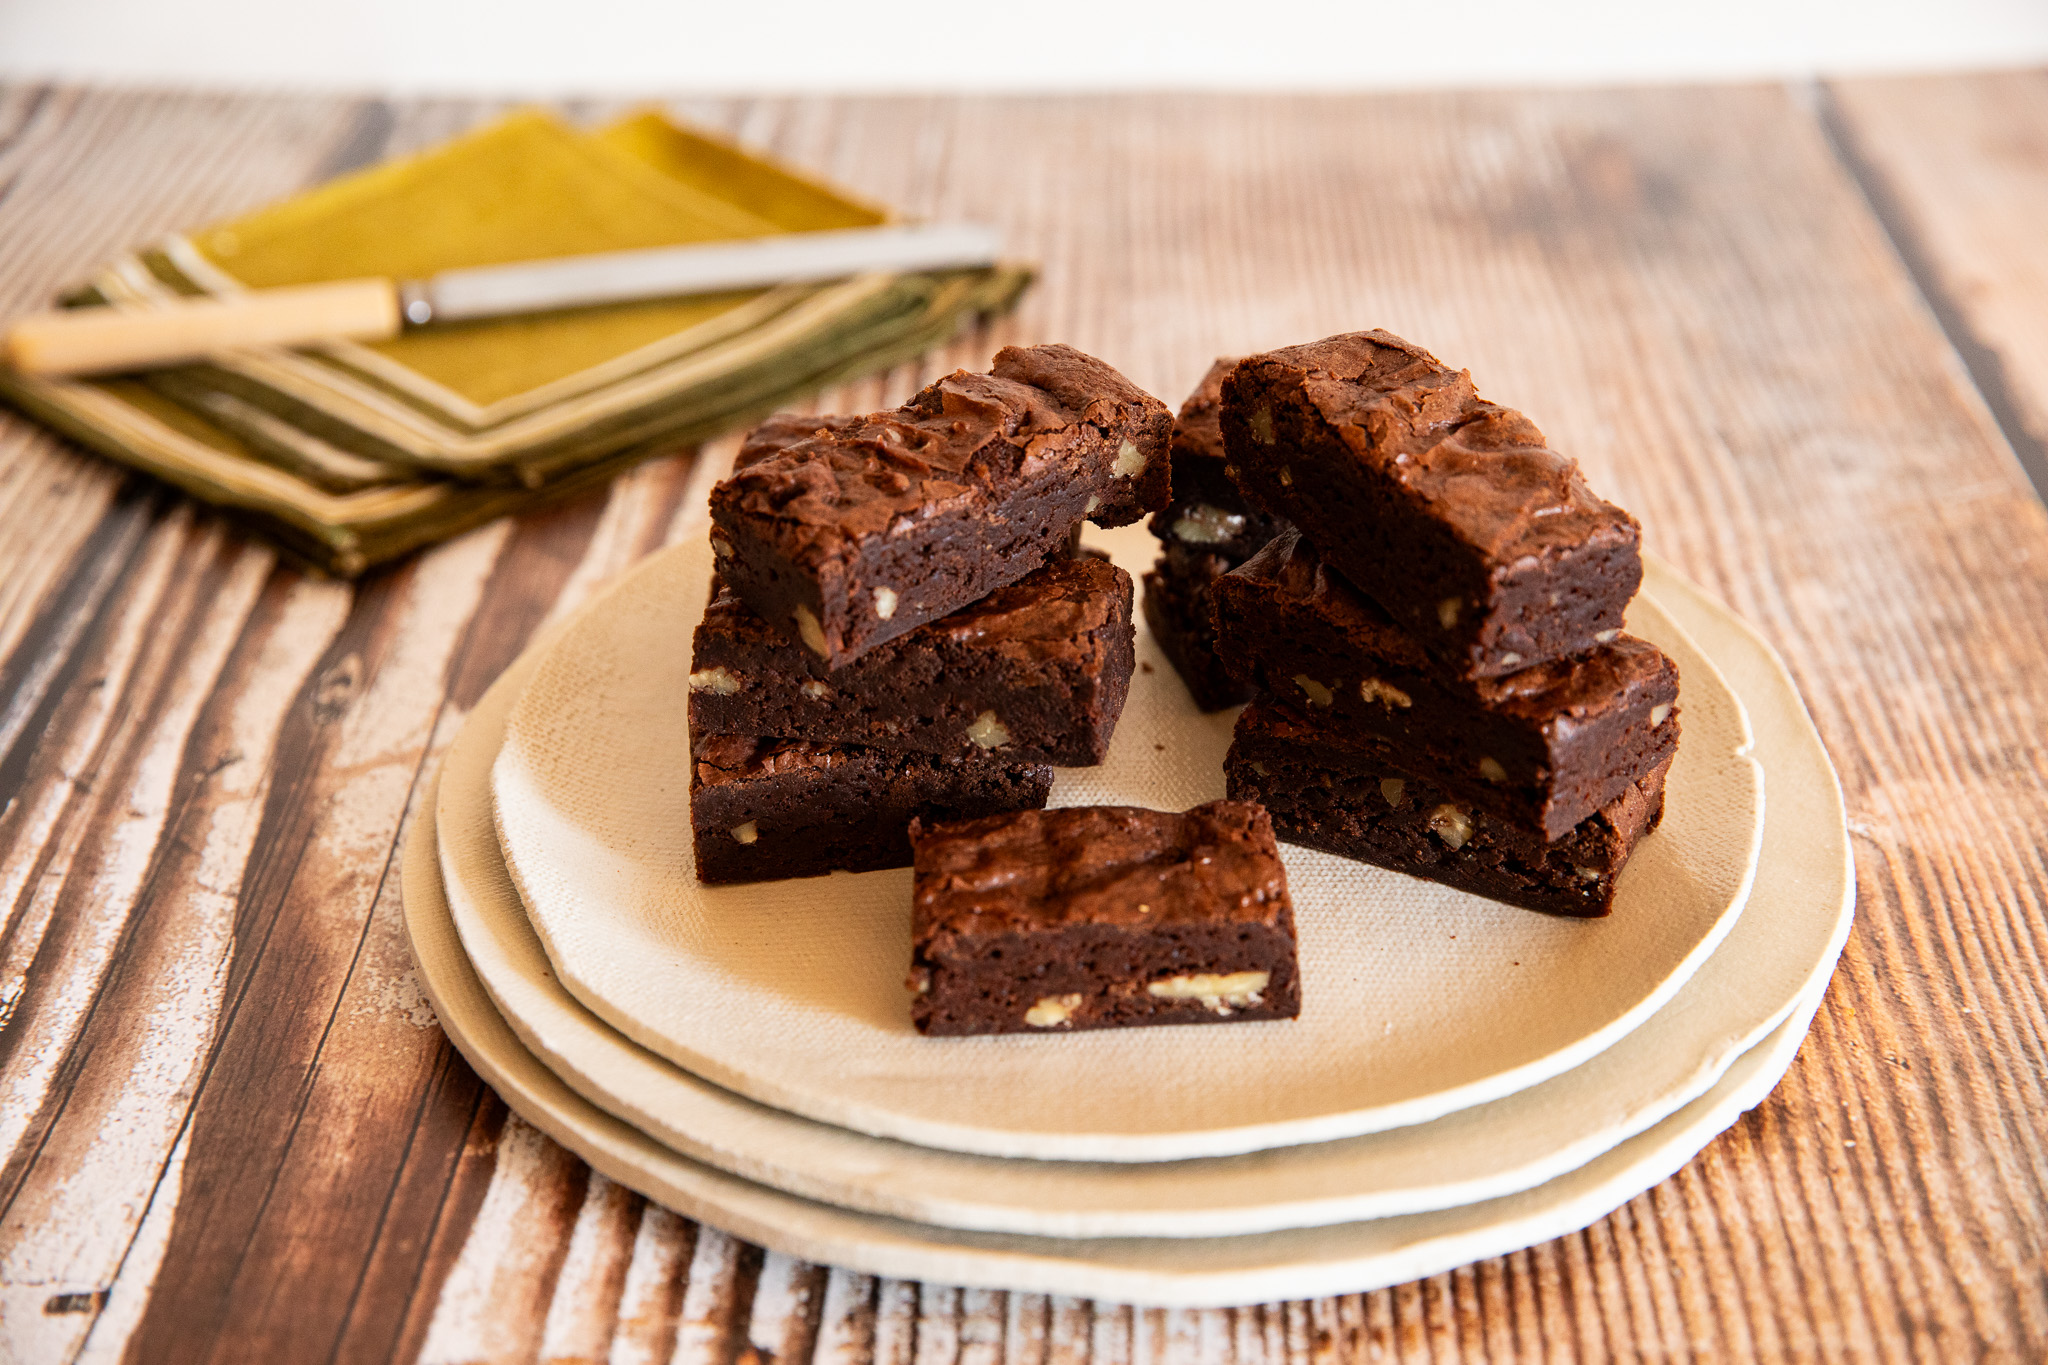
Photography The Shady Baker
CHOCOLATE BROWNIE
This brownie is soft and dense: perfect for smoko, lunch boxes or dessert (served with a dollop of cream). It can be frozen for up to a month.
Makes 10–12
¼ cup (30g) cocoa powder
¼ cup (60ml) boiling water
½ cup (75g) chopped cooking chocolate, dark or milk
1/3 cup (80ml) olive oil
1 egg, at room temperature
¾ cup firmly packed (165g) brown sugar
¼ cup (55g) white sugar
¾ cup (110g) plain flour
½ teaspoon baking powder
½ teaspoon salt
1/2 cup (60g) chopped pecans
1. Preheat the oven to 180°C. Line a 20cm square baking tin with baking paper.
2. Whisk the cocoa powder and water in a large mixing bowl until well incorporated.
3. Melt the chocolate in a heatproof bowl placed over a saucepan of simmering water (don’t let the water touch the bowl). Stir regularly for 4–5 minutes until the chocolate has melted. Allow the chocolate to cool a little before using.
4. Pour the melted chocolate, oil and egg into the cocoa mixture and whisk to combine until smooth.
5. Add both brown and white sugar and whisk for 4–5 minutes until well combined. The sugar is what gives the brownies that crinkly texture on top. Gently fold in the flour, baking powder, salt and pecans, stirring until the batter is just smooth.
6. Scoop the batter into the tin. Bake for 20–25 minutes. Insert a skewer into the centre: it should come out with some crumbs sticking to it, but not raw batter. Take care not to overcook the brownies.
7. Cool in the tin for 5 minutes before transferring to a wire rack to cool completely. Cut into pieces of the desired size to serve.
Photography The Shady Baker
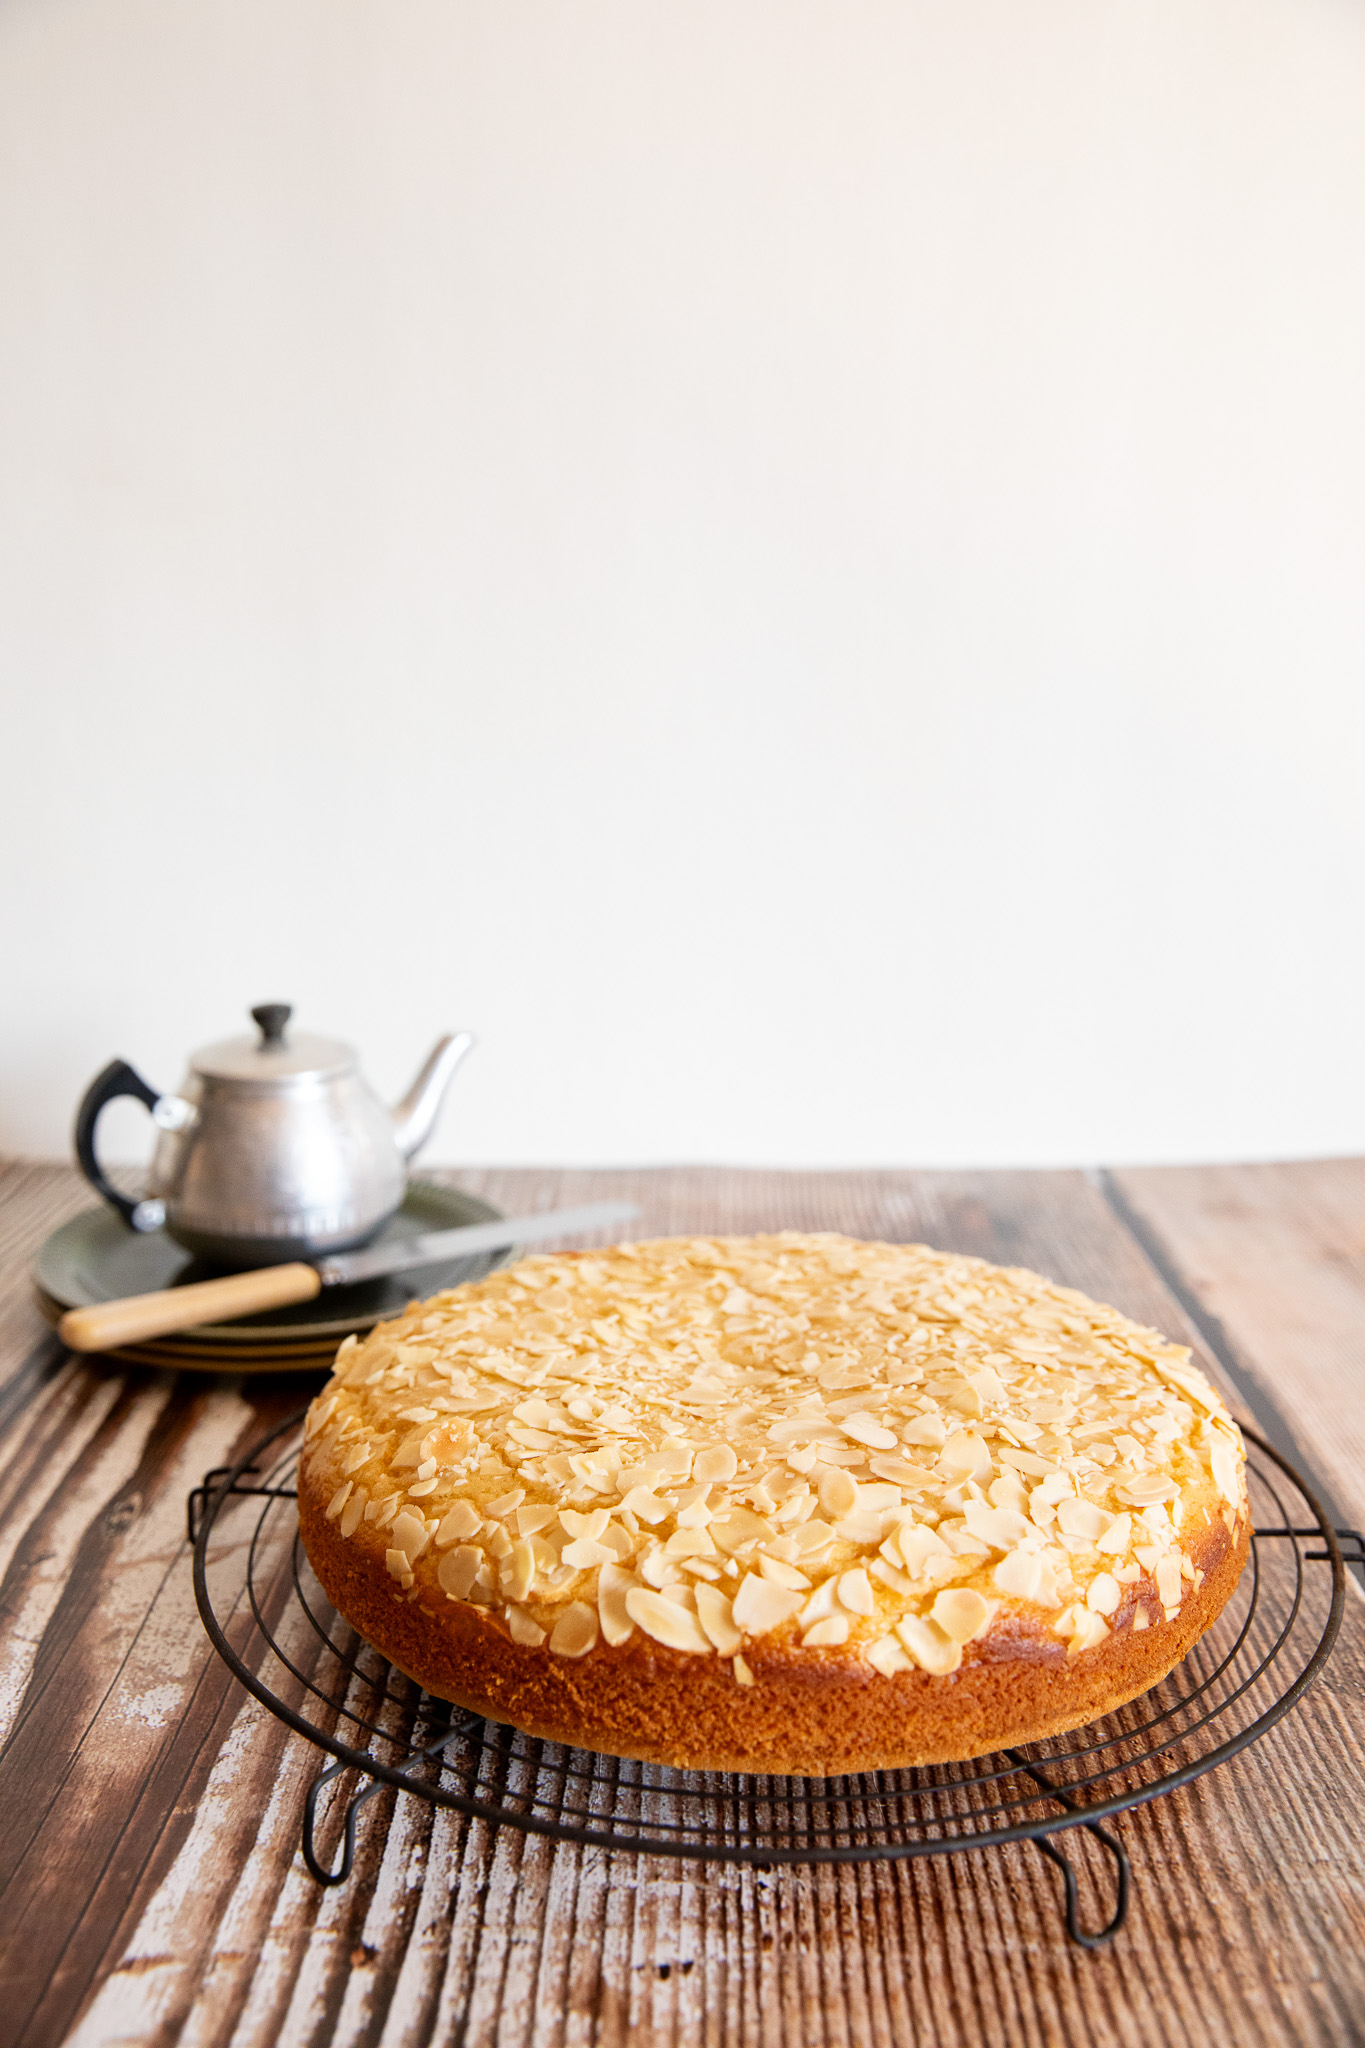
Photography The Shady Baker
LEMON AND ALMOND CAKE
Sturdy enough to transport, this cake is soft and spongy with a satisfying crunch.
Serves 8–10
1 cup (220g) caster sugar
3 eggs, at room temperature
½ cup (125ml) milk
½ cup (125ml) olive oil
1 lemon, zest and juice
21/3 cups (350g) self-raising flour, sifted
½ cup (50g) flaked almonds
1. Preheat the oven to 160°C. Grease a 24cm round springform cake tin and line the base with baking paper.
2. Whisk the sugar and eggs in a bowl until light and fluffy. Gradually add the milk, oil, lemon zest and juice, whisking until smooth. Lightly fold in the flour.
3. Scoop the batter into the cake tin and smooth the top. Scatter the almond flakes over. Bake for 25–30 minutes until a skewer inserted into the centre comes out clean.
4. Cool in the tin for 10 minutes, then transfer to a wire rack to cool completely.
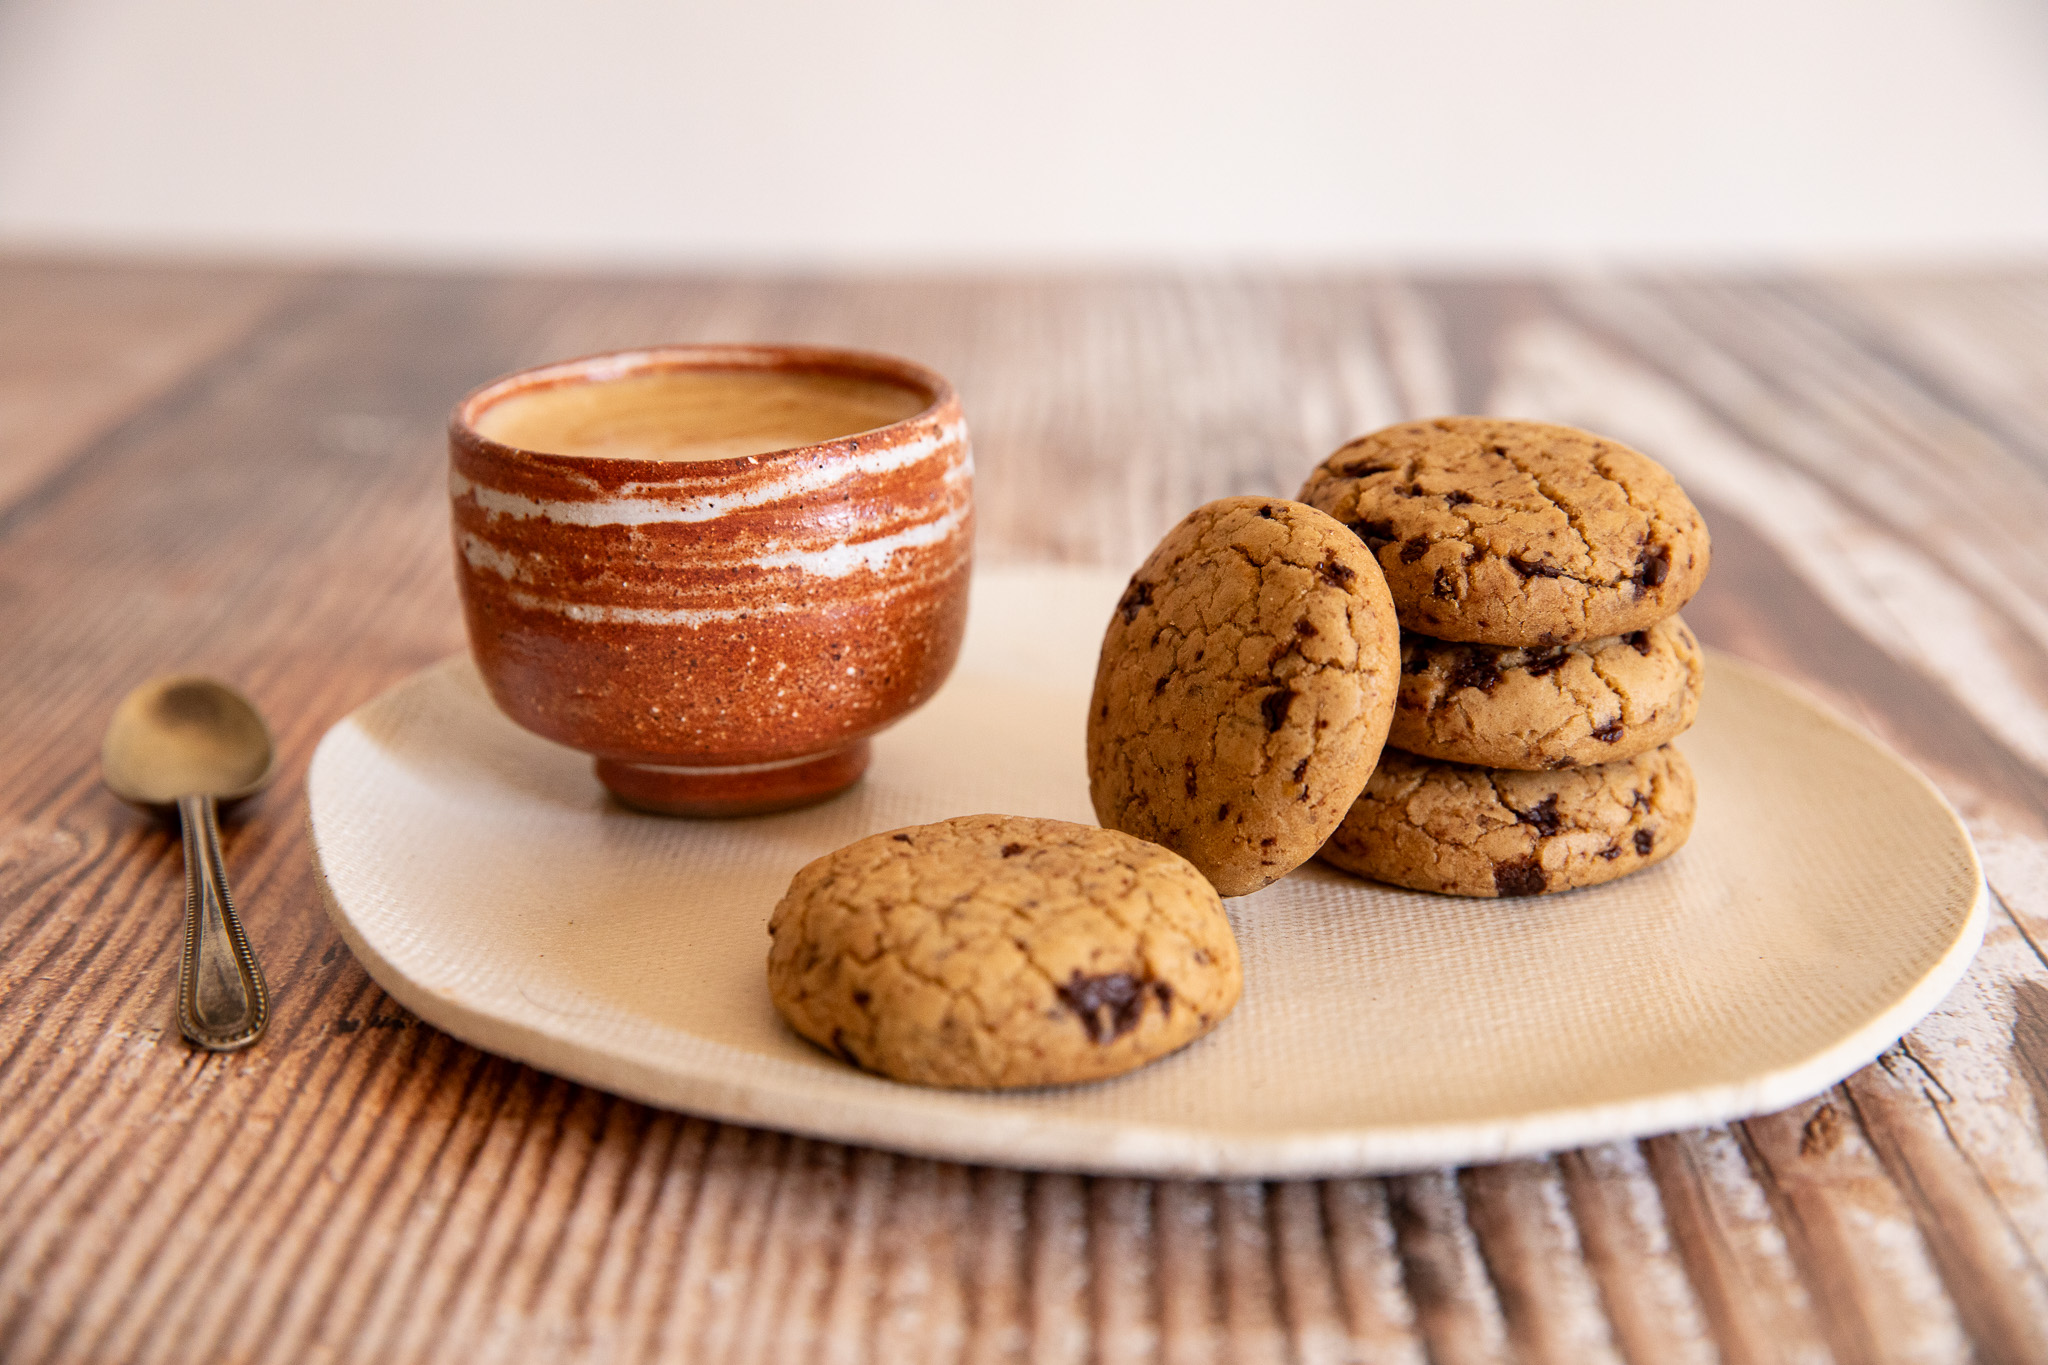
Photography The Shady Baker
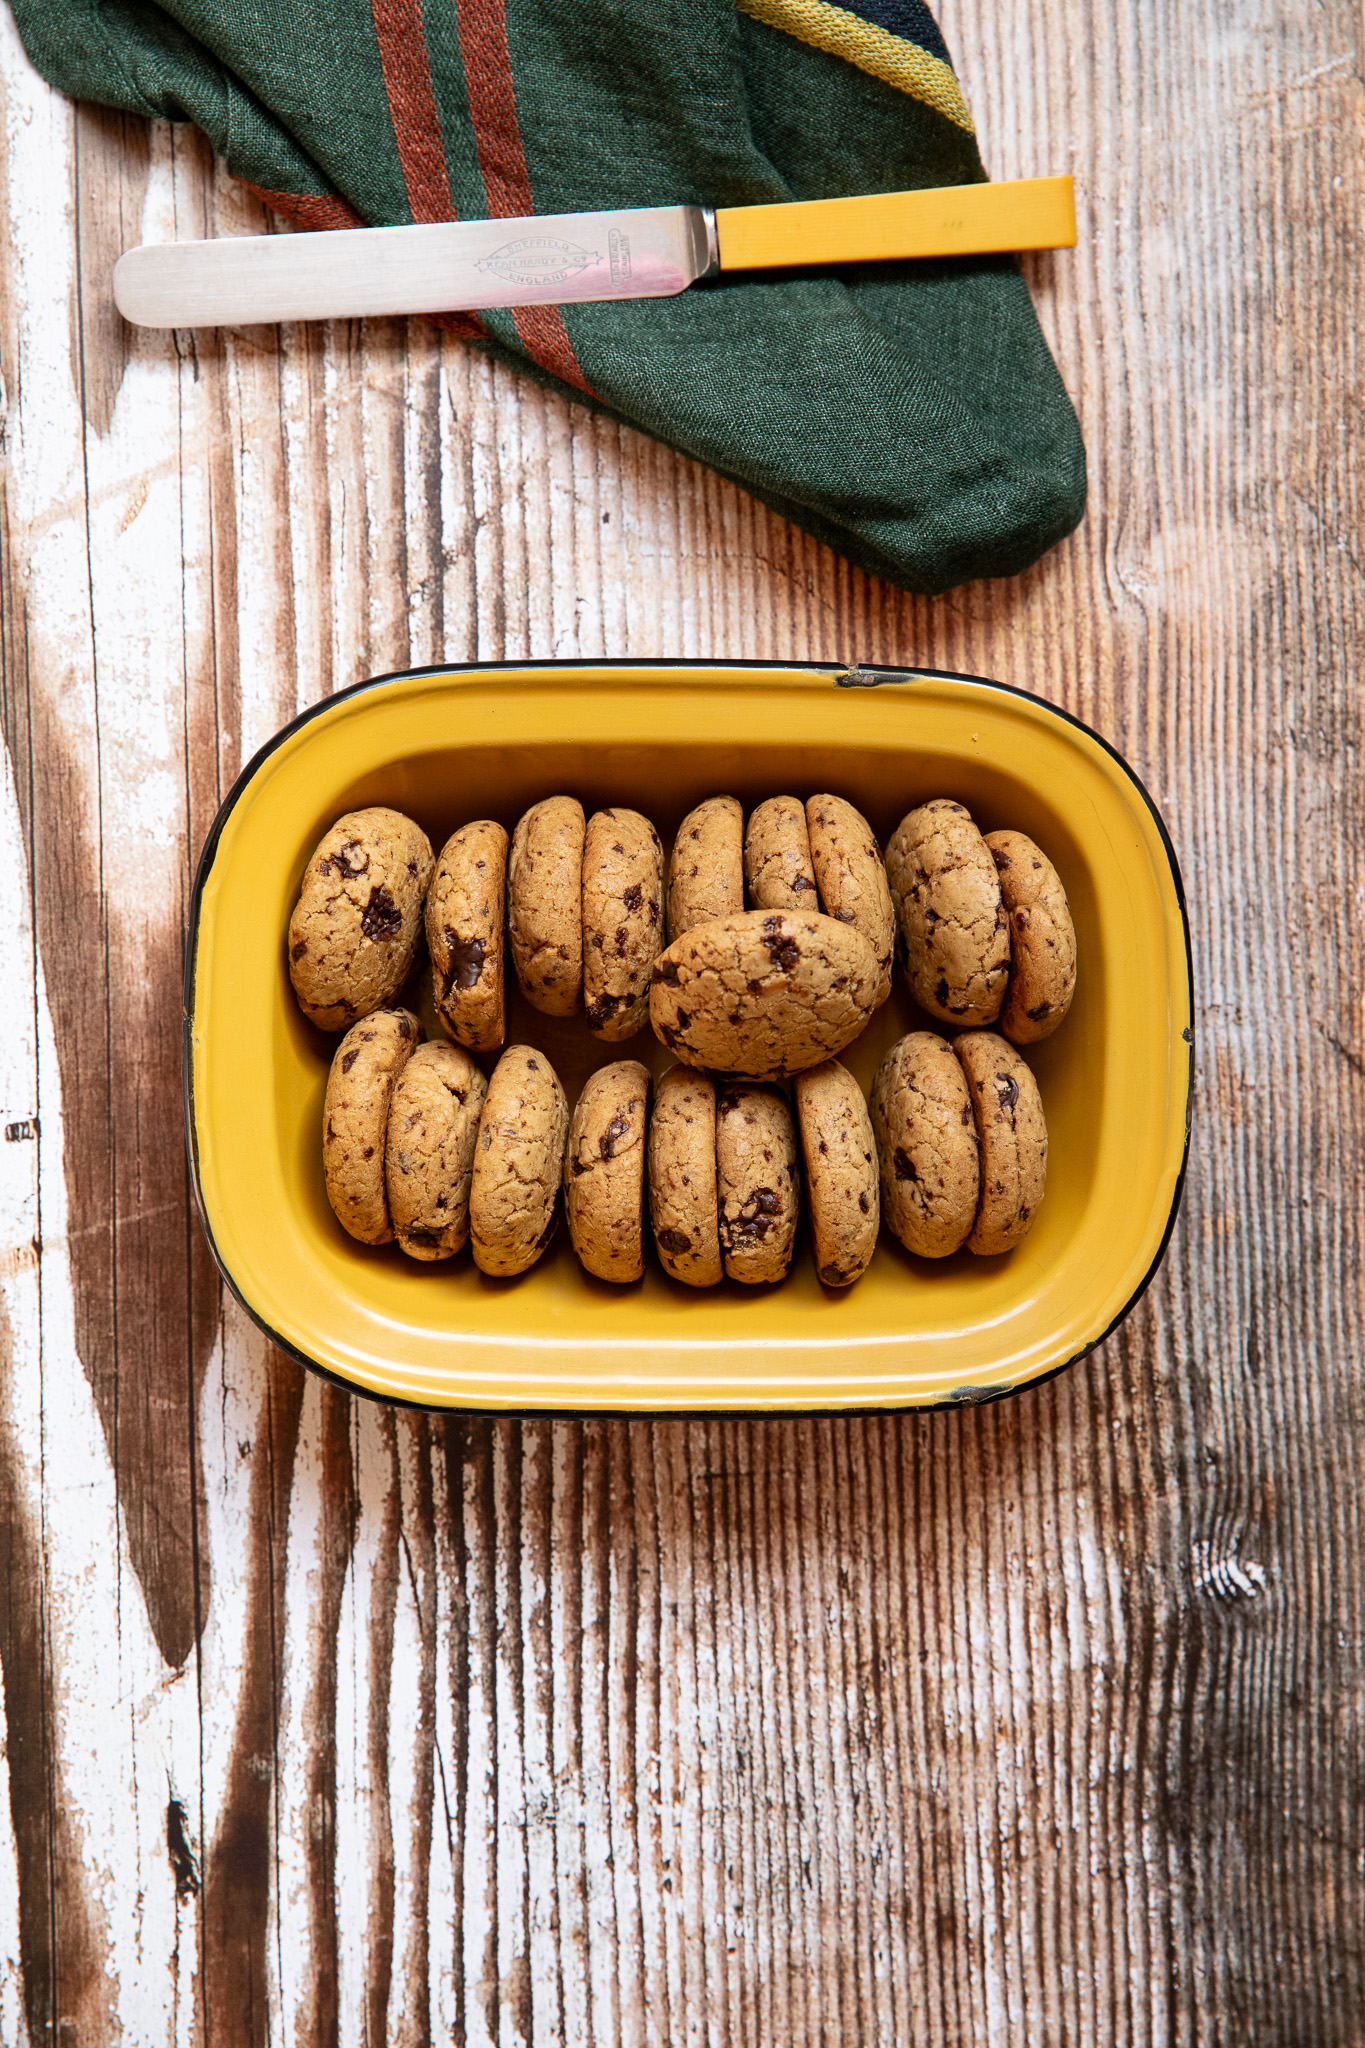
DARK CHOCOLATE BISCUITS
The olive oil in these biscuits gives them a slightly fudgy texture. We love them dunked in a coffee at smoko time.
Makes around 40 biscuits
2½ cups (375g) plain flour
1 teaspoon salt
1 teaspoon bicarbonate of soda
1 cup (180g) chopped dark cooking chocolate
½ cup (110g) caster sugar
½ cup (110g) dark brown sugar
3/4 cup (185ml) olive oil
1 egg plus 2 yolks, at room temperature
1 tablespoon thickened cream
1 tablespoon sea salt flakes, optional, for topping
1. Line 2 baking trays with baking paper.
2. Combine the flour, salt and bicarb soda in a medium bowl. Stir in the chopped chocolate then set aside until needed.
3. Whisk both the sugars and oil together in a large mixing bowl. Add the egg and yolks and whisk until well combined. Add the cream and whisk again.
4. Fold the flour mixture into the sugar mixture and stir until combined.
5. Shape tablespoons of dough (about 25g each) into balls. Place the balls on the baking trays, leaving space between them, and flatten each ball slightly.
6. Transfer the trays to the refrigerator for at least 30 minutes. This will help the biscuits keep their shape during baking. Preheat the oven to 180°C.
7. Transfer the chilled biscuits straight to the oven and bake for 15–20 minutes until lightly golden. You may need to cook these in two batches, depending on the size of the trays.
8. When cooked, sprinkle with salt flakes, if using. Cool the biscuits on wire racks.
Photography The Shady Baker
Photography The Shady Baker
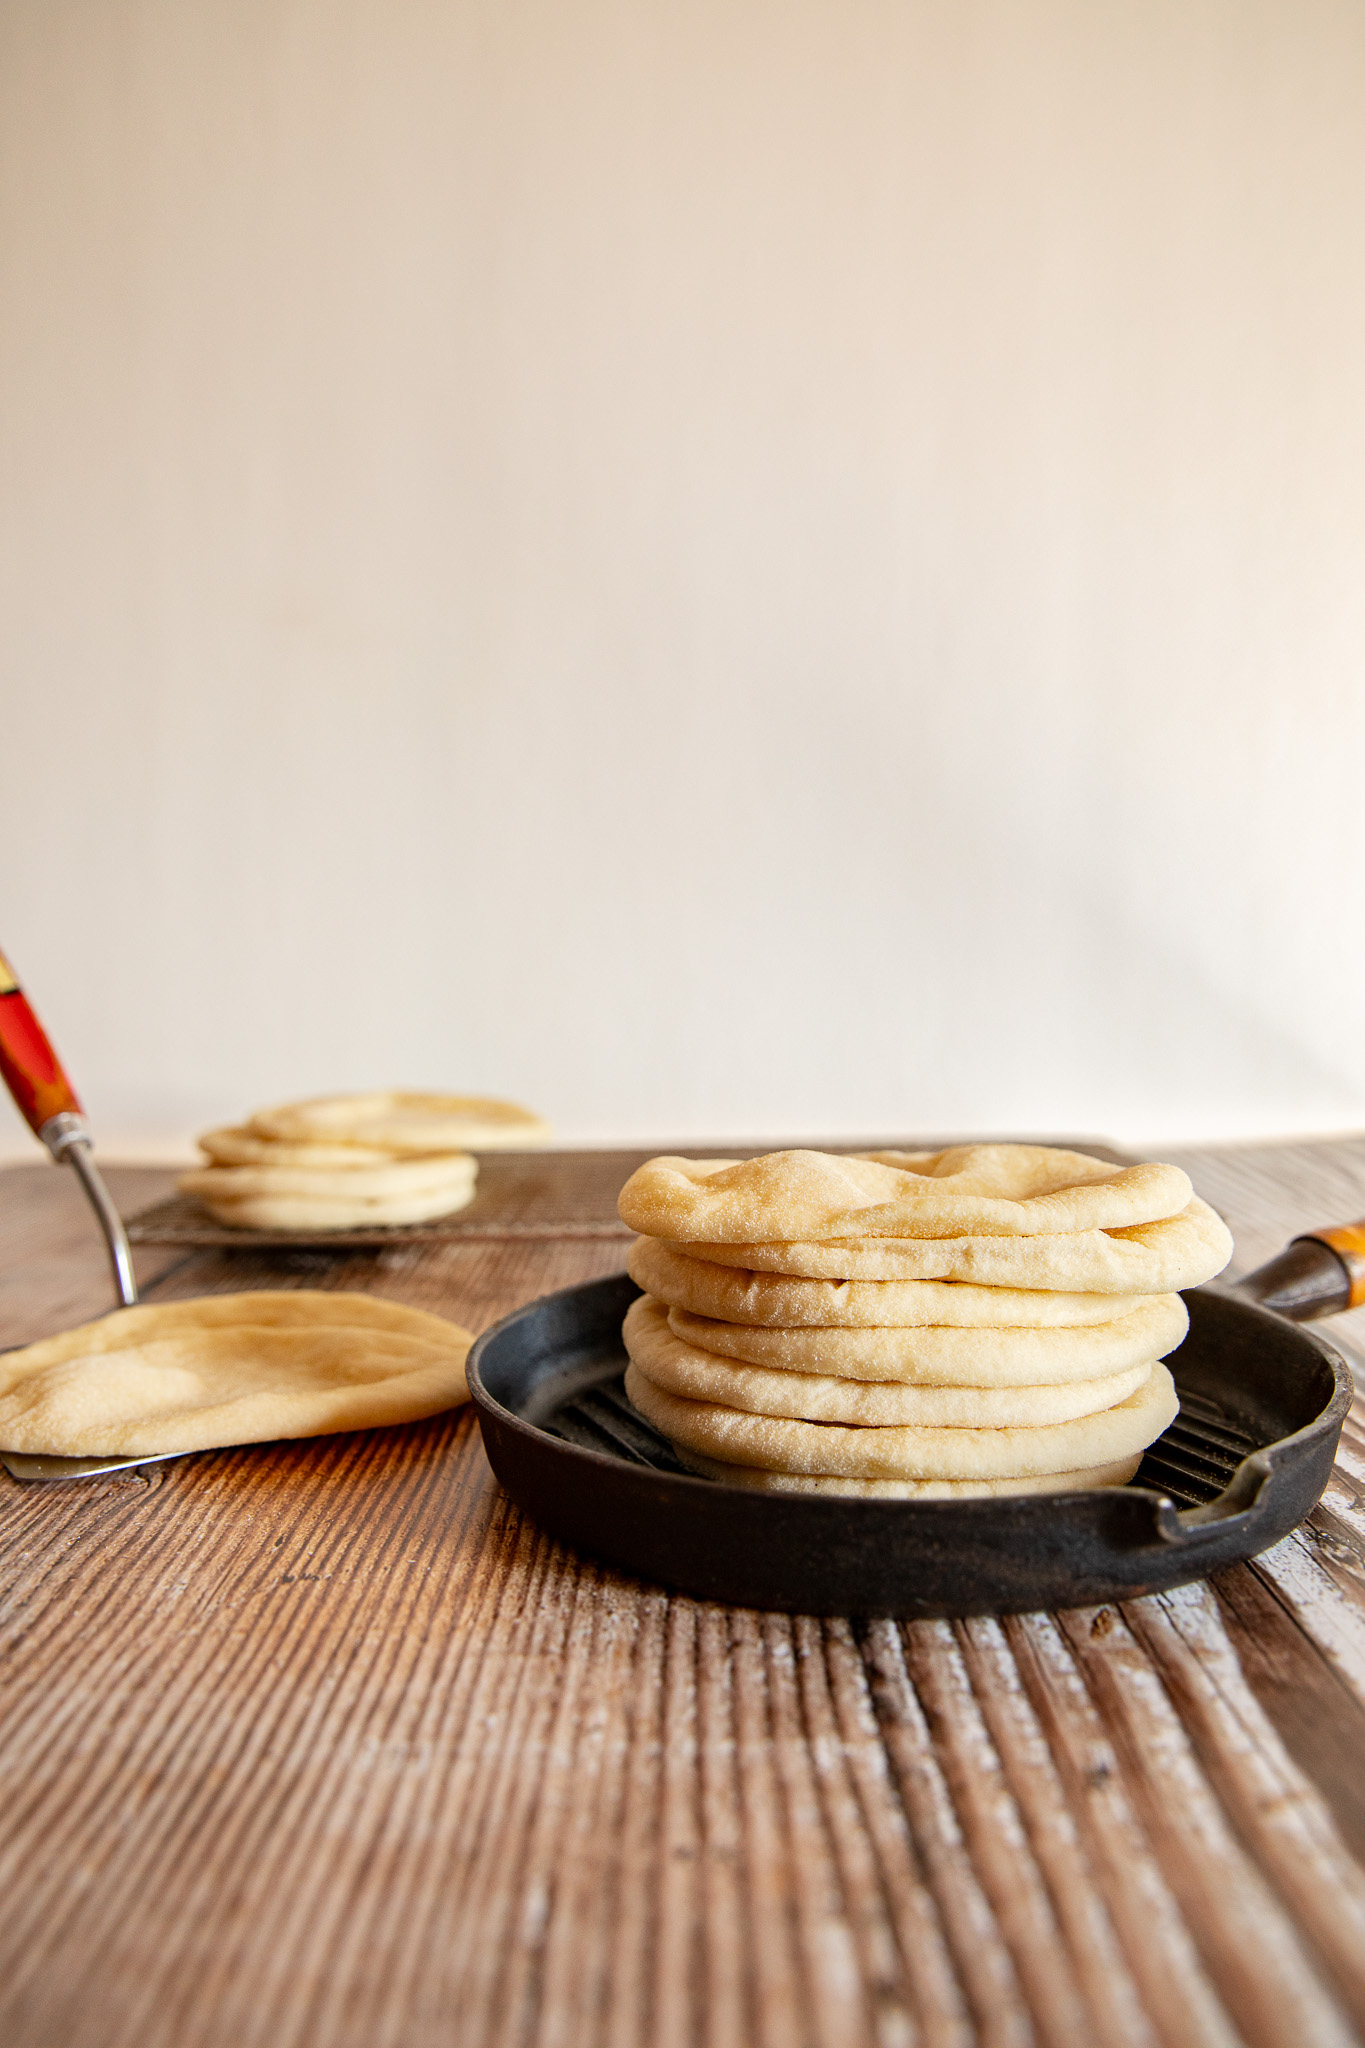
PITA BREAD
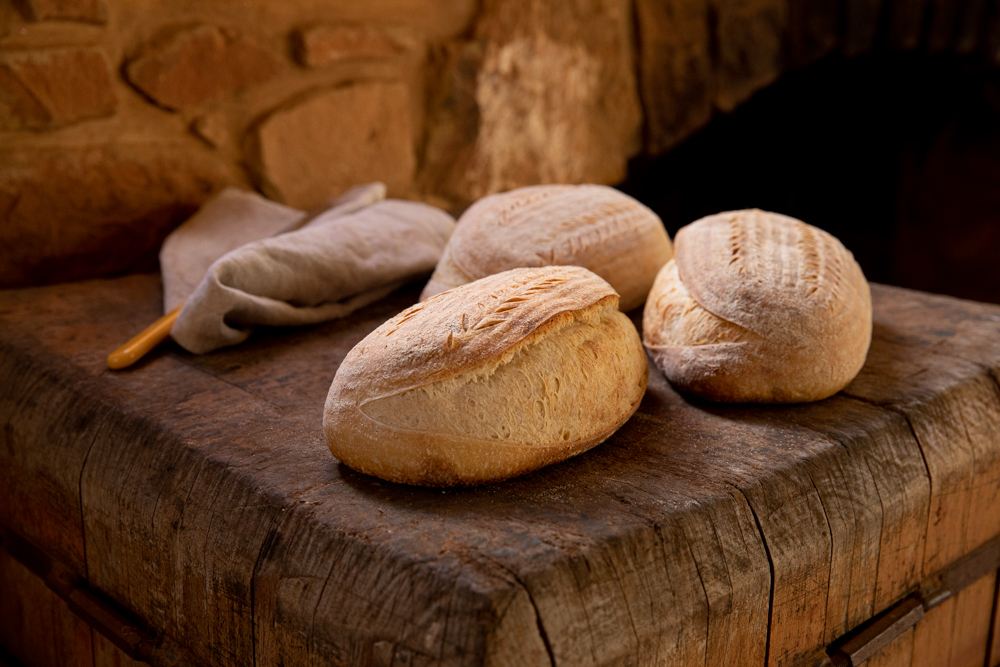
Serve these pitas warm as a simple snack or as part of a platter with roast lamb, salad, hummus and yoghurt. Best served fresh from the oven but you can store in an airtight container for a day or two.
Makes 10–12 pitas
¾ cup (185ml) lukewarm water
1 sachet (7g) dry yeast
1 tablespoon runny honey
3 cups (450g) plain flour or bread flour
2 teaspoons salt
3 tablespoons (40g) olive oil
½ cup (130g) Greek-style yoghurt
¼ cup semolina, for the work surface
1. Line a large heavy-based baking tray with baking paper, or use a pizza stone.
2. Mix water, yeast and honey in a small bowl. Wait 5–10 minutes until it is bubbly.
3. Put the flour and salt in a large mixing bowl or use a stand mixer fitted with a dough hook attachment. Add the yeast mixture, oil and yoghurt and stir to form a shaggy dough.
4. Tip the dough onto a clean work surface (or use the stand mixer on slow speed).Knead the dough until it is soft and elastic. Transfer to a lightly oiled bowl, cover with a clean tea towel and put it somewhere warm for 2–3 hours until it has doubled in size
5. Meanwhile, preheat the oven to its highest temperature with the baking tray inside. Alternatively, preheat a pizza stone. Do not rush the preheating process, as a hot oven is necessary to make the pitas puff up.
6. Tip the dough out onto a clean work surface and divide into 10–12 equal pieces, around 70g each. Gently shape the dough into smooth balls and rest them on the work surface for 20 minutes.
7. Using a rolling pin, roll the balls out into 2cm thick discs. If the dough is sticking to the work surface, sprinkle the bench and rolling pin with a little semolina.
8. Carefully place 2–3 pitas on the baking tray or pizza stone, leaving a little space between. Cook for 5–6 minutes until they have puffed up. Transfer the cooked pitas to a large bowl lined with a clean tea towel to keep them warm and repeat with the remaining dough until all pitas are cooked
There are many ways to find a meaningful role in the industry, says Beef Australia’s Beth Rands.
Hailing from a small Irish town, Lisa Fryer found love at Daly Waters’ Hi-Way Inn. Today, she and husband John are ushering in a new era for Tabletop Station, near Townsville, Queensland.
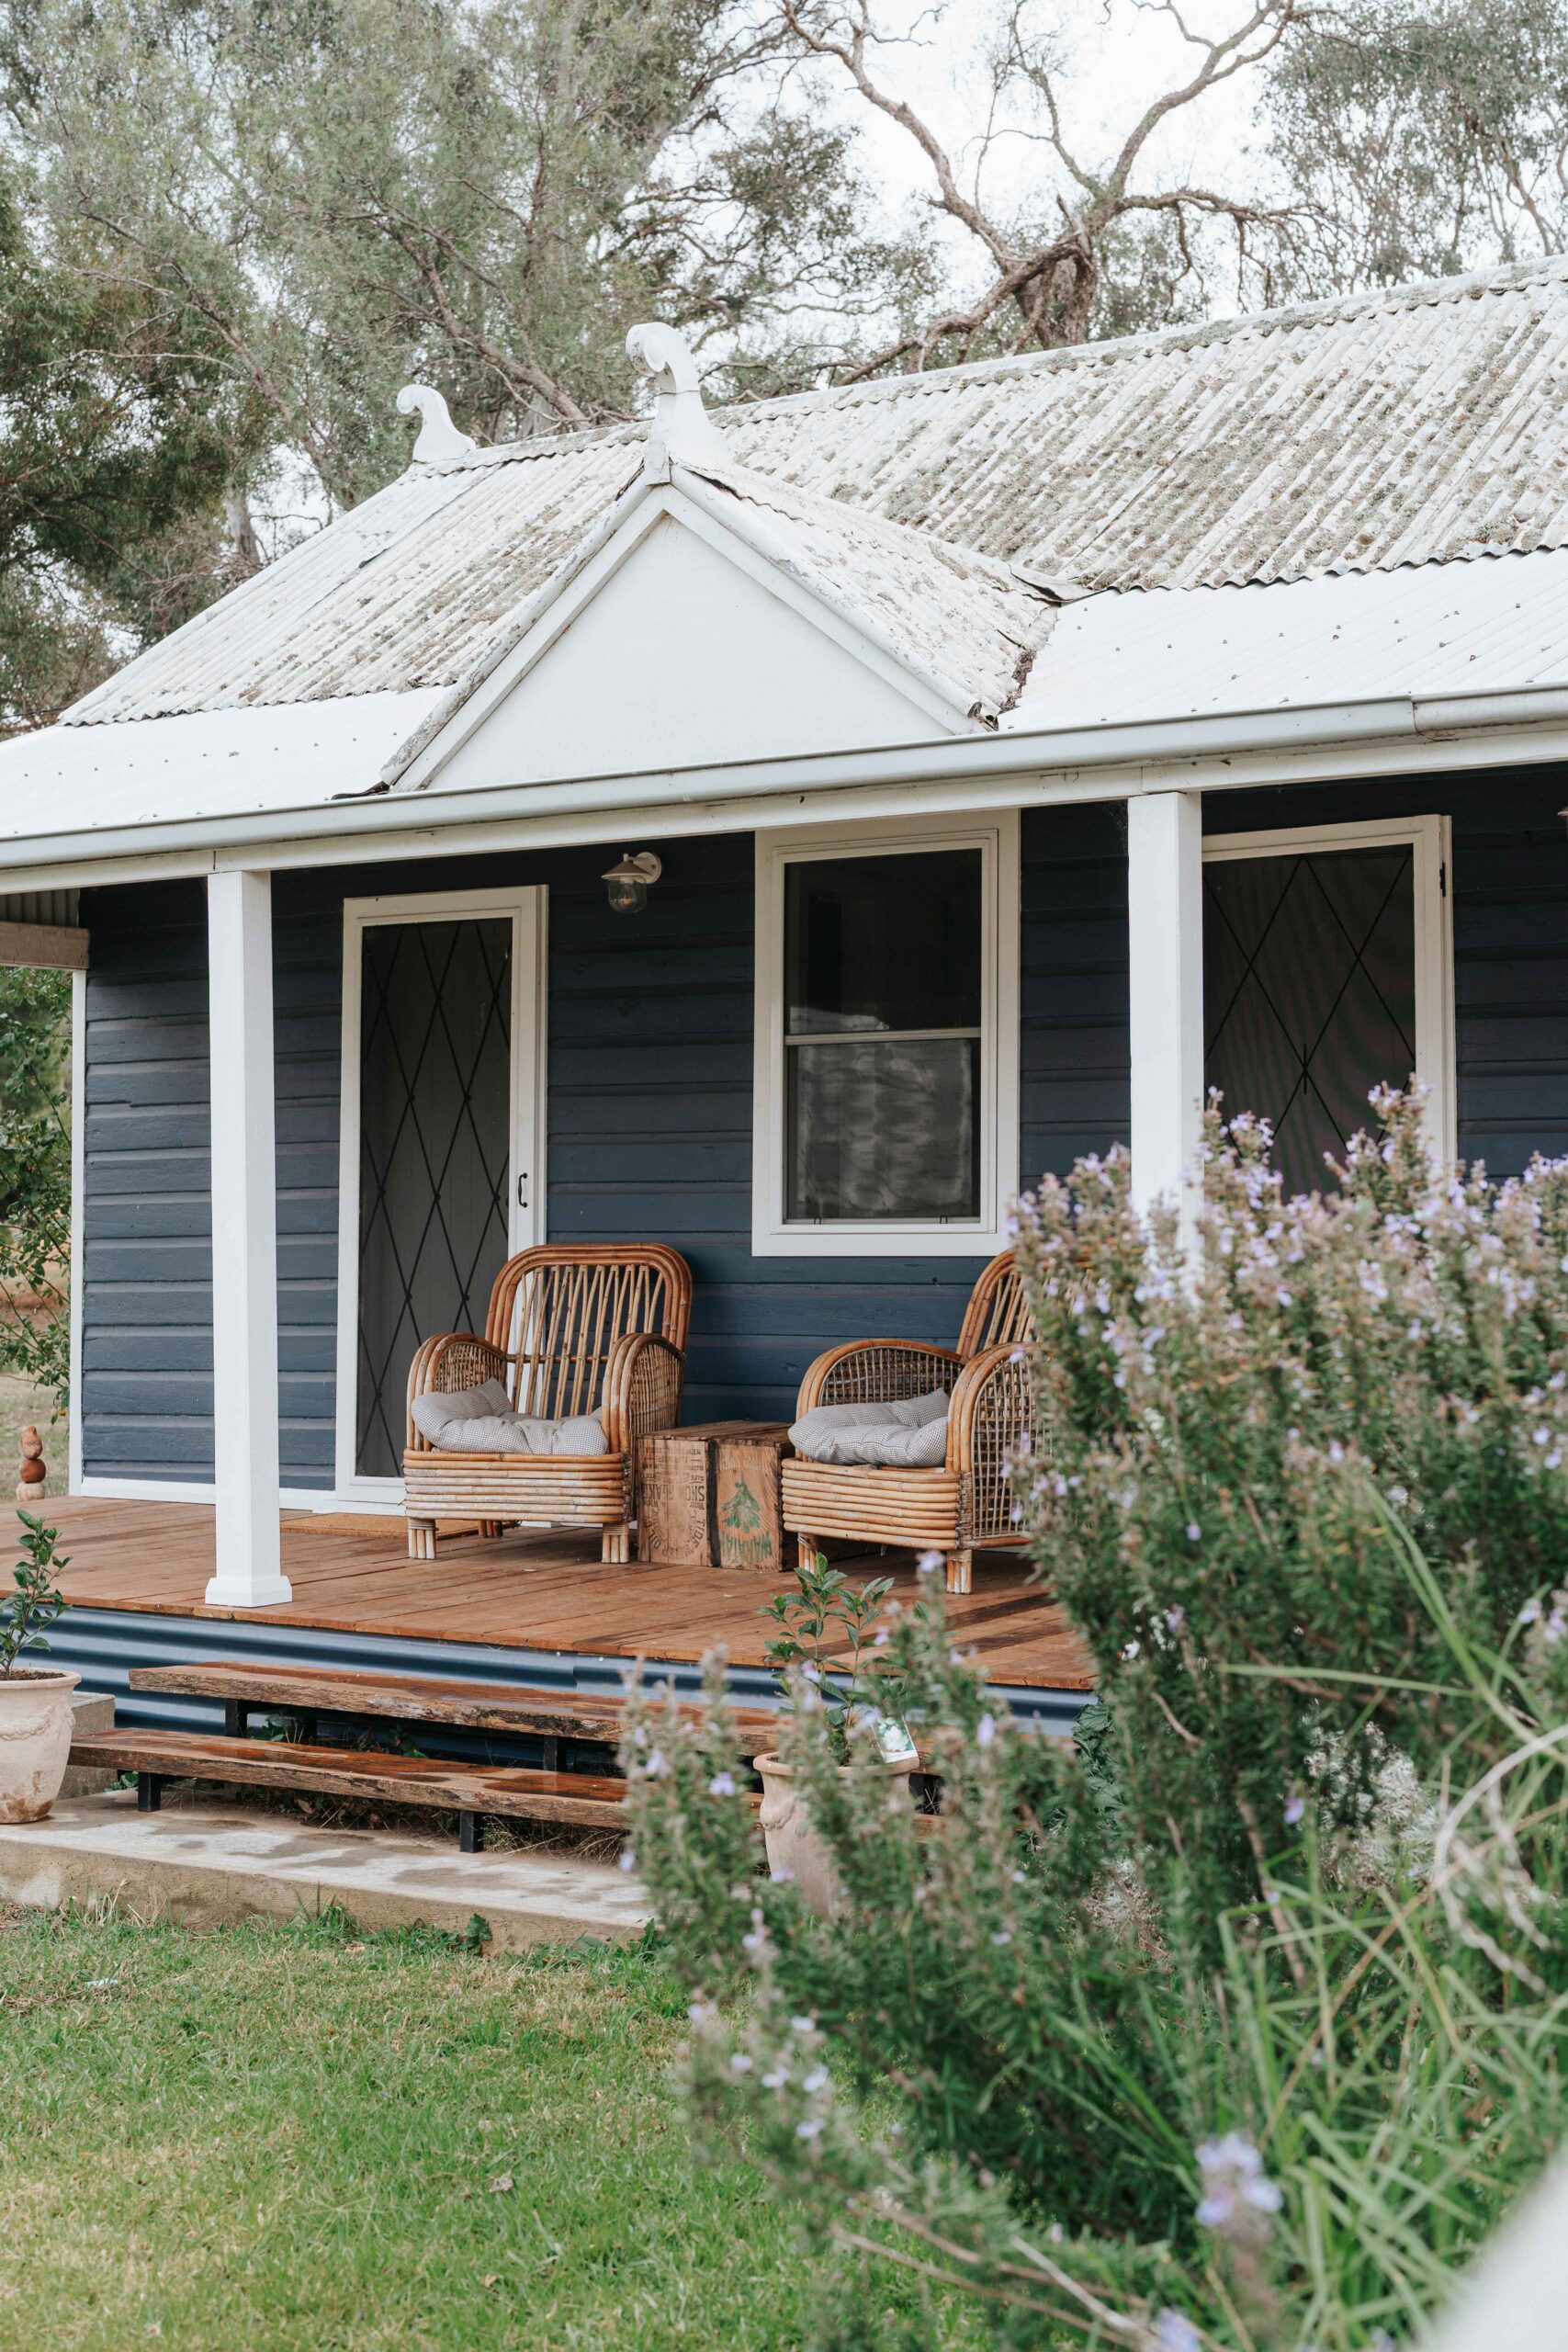
A weatherboard cabin in Alexandra MacAlpine’s garden becomes a guest cottage, thanks to the imagination of her sister-in-law.
Take advantage of the cooler temperatures and slower growth, writes Claire Austin.
Having worked on farms for most of her life, Caitlyn knows what it takes to run a successful agribusiness in the Riverina.

